Now that you have decided to try indoor seed starting, let’s talk about what you can expect in the process.
Before you begin, I encourage you to take a moment and consider the entire process of starting your seeds indoors. This begins with preparing your equipment and goes through to the ultimate goal of planting the crops out into your garden. Keeping in mind the end goal will help you better understand each step of the process.
Let me share with you some common seed starting problems that you may run into and how to avoid them, as well as what you can expect with indoor seed starting.
If you’d like to watch a YouTube video of a recent podcast I recorded on what to expect from indoor seed starting, instead of reading this post – you can watch here or click the link below:
What To Expect With Indoor Seed Starting
Let me share what you can expect with indoor seed starting by reading these topics:
One of the biggest problems I see beginner gardeners make is getting too focused on the early part of the process — things like obtaining supplies, selecting the seeds, planting the seeds, and then waiting.
You may think that the biggest hurdle in indoor seed starting is waiting for the seeds to sprout. And while that waiting process may be difficult, the bigger challenges most gardeners face is after the first seeds begin to grow.
After the seeds sprout, often we find ourselves with questions we didn’t know we needed to ask. It’s like preparing for the birth of your first baby — you get the nursery ready, choose the car seat, and take childbirth classes, but after the baby is born, you’re struck with, “Now what?” (Maybe that was just me, but you get the idea.)
Seed Starting Mistake
A common mistake with indoor seed starting, then, is not thinking through the entire process. From seed starting all the way through to the final result of planting out into the garden.
As we dive into what to expect from seed starting I’ll share a plan of what to do once your seeds start to sprout. That way you can be prepared and know what to expect and can be assured your seeds will survive in your outdoor garden.
Beginner’s Guide to Indoor Seed Starting Workshop
If you’re new to seed starting, and you know you need more detailed information on how to be successful, you may be interested in the Beginner’s Guide to Seed Starting workshop. It’s a replay of a live workshop that you can watch at your convenience. Find out more information here.
In-Depth 2-Hour Workshop
Indoor Seed Starting Stage 1: Preparing
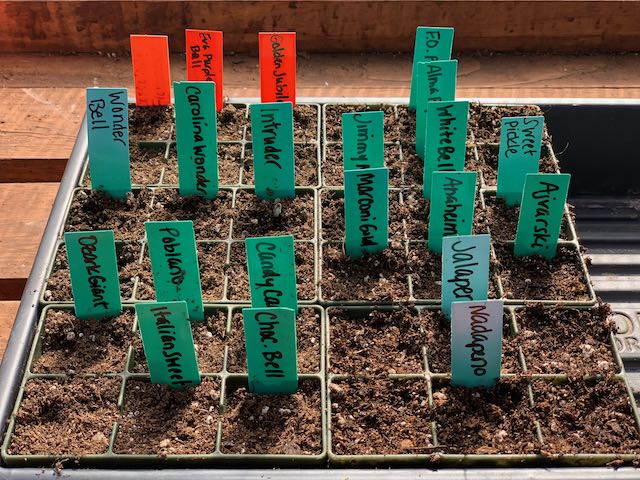
The first stage of what to expect with indoor seed starting is to prepare your supplies and your space. The preparing stage includes not only obtaining your seeds, but also preparing your overall plan. You’ll need to know which seeds you should start indoors and which ones you should wait and plant in the garden. Some good seeds to start indoors are tomatoes, peppers, and basil, though those are just the beginning.
Timing is also important. You’ll need to know when to start the seeds indoors based on your climate. Keep in mind one of the biggest mistakes I see is starting your seeds indoors too early. Most seedlings only need 6-8 weeks indoors before planting out, and others, like squash, only need about three weeks of inside growing time!
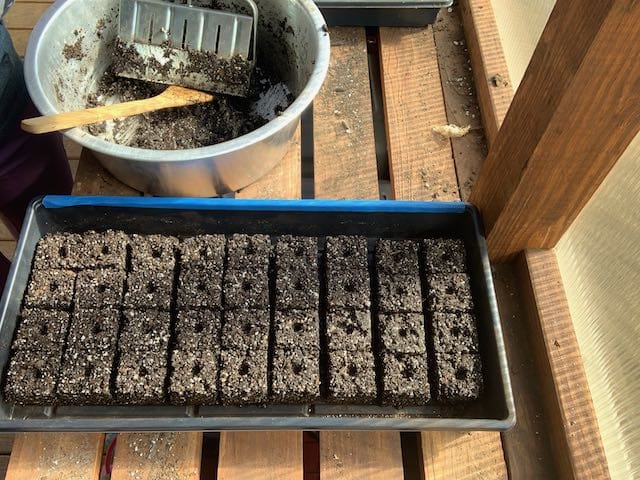
You also want to make sure you’ve obtained necessary seed starting supplies. I’d recommend you get supplies like a grow light, seed starting trays, and seed starting mix. While there are other supplies that are nice to have, those three are the big ones.
Indoor Seed Starting Stage 2: Planting
The next stage is planting. Typically this is the main stage that we like to focus on because it’s the most fun!
The biggest planting mistake I see when planting our seeds indoors is planting too many seeds per cell. With few exceptions, the goal is to have one plant per cell — so only plant 2-3 seeds per cell. More than that, and you’ll end up with a lot of stressed seedlings.
Also, plant seeds into damp mix that you moistened ahead of time. Next cover your seeds with a humidity dome (or plastic wrap) and put under a grow light for best results. Most seeds will sprout in 7-10 days.
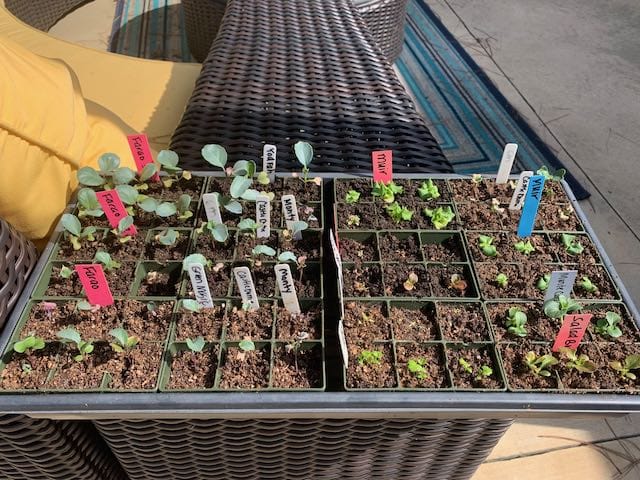
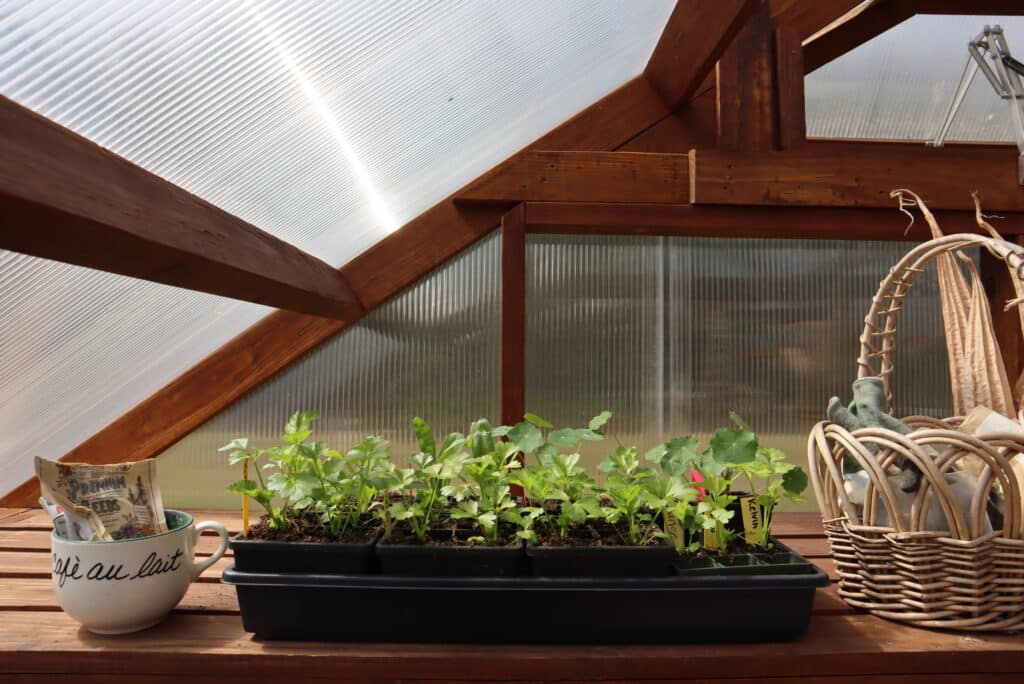
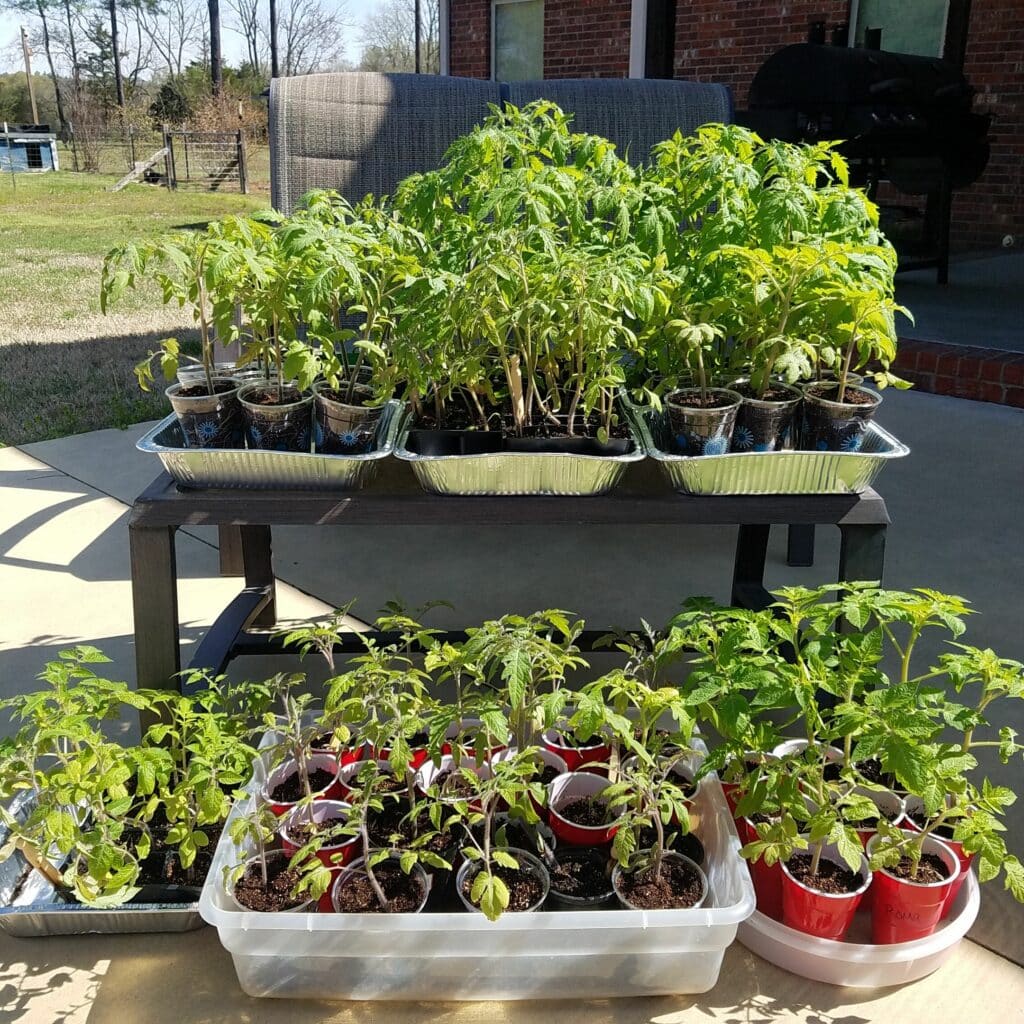
Stage 3 of what to expect with indoor seed starting is growing. This is the phase where issues tend to arise. Let’s consider what to expect from a healthy growing seedling.
As your seeds sprout, you might be a bit confused by the first leaves you see. The first leaves of most plants are cotyledons, which are only seed leaves that capture light to feed the growing root.
After cotyledons you’ll see the “true leaves” of your plant. They will look different from seed leaves, as their shape will be the same as a mature plant. As your plant continues to grow, even more leaves will appear and eventually your seed leaves will yellow and drop off your new plant. This is normal!
Your goal is for your plants to be stocky, but not too tall – which is why your grow light is important. You also want your leaves to be vibrant green, not yellow. Even some purpling on the underside of leaves is normal and will mostly correct itself with time.
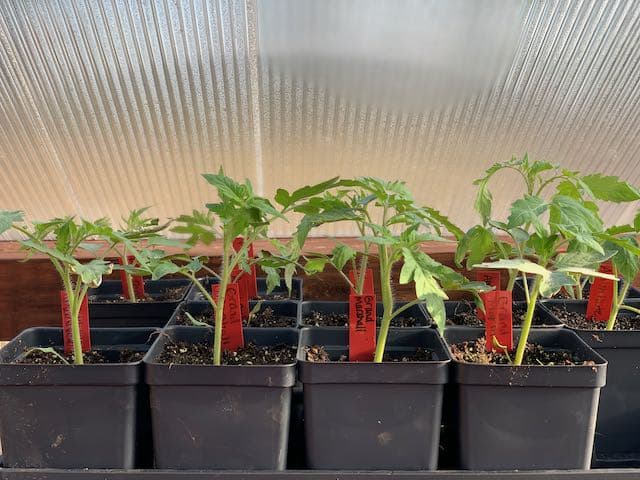
Your plant will continue to grow for the next 2-3 weeks, maybe more depending on the type of plant, size of the container, and strength of the grow light. Unless you started your seeds in a large container, eventually will need to be transferred to a larger container — also known as “potting up.”
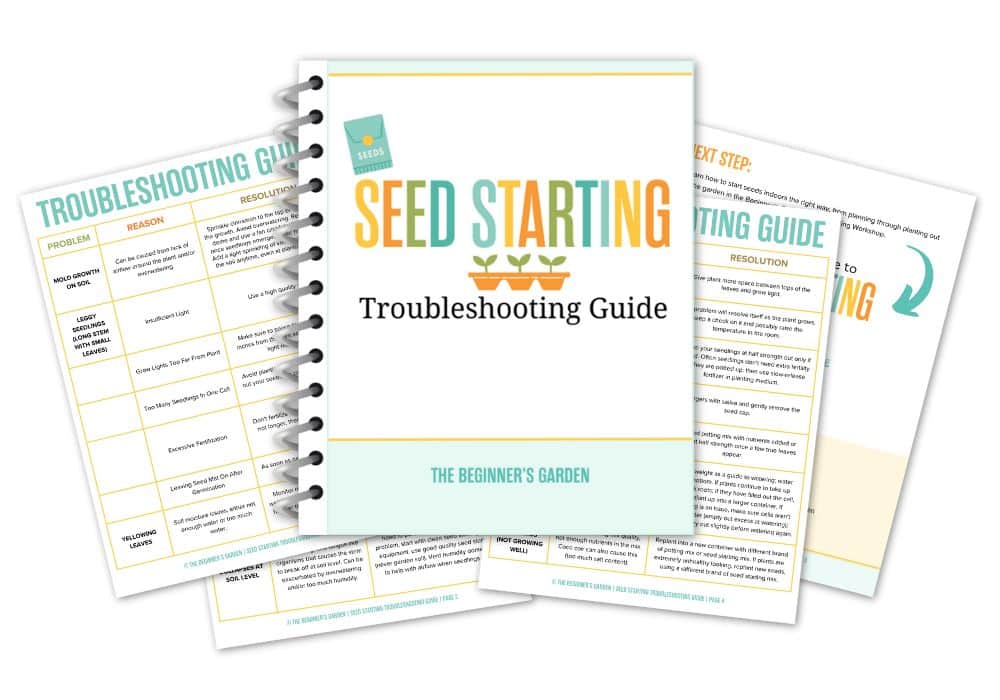
The growing stage is where most issues occur. If you are having trouble, you’ll want to snag our Beginner’s Guide to Indoor Seed Starting Troubleshooting Guide, which will help you answer many of those nagging questions you have as you are growing your seeds.
Indoor Seed Starting Stage 4: Potting Up
Moving on, our next stage of seed starting is potting up. Most plants need to be transplanted from the seed tray into a larger container before it’s time to plant those seedlings outside in your garden.
I talk more about the clues to know when your plants are ready to be potted up in the workshop, as well as how to do them if you want to check it out. You can also learn more about potting up here.
The biggest thing to consider when potting up is your grow light space. If you run out of space, you can start the next stage, hardening off, by putting your plants in the sun for small portions of the day.
Indoor Seed Starting Stage 5: Hardening Off
Hardening off is the next stage of indoor seed starting. Your new plants can’t handle going from indoor grow lights directly to the garden because the light intensity is completely different.
Also, the outdoor environment is very different from indoors because of wind, which can dry out your new plant.
The temperatures outside can have varying swings, which contrasts to stable indoor temps and can be hard on your new baby plants. The best way to harden off is gradually, a couple hours each day making sure to protect your plants. Learn more about hardening off here.
Indoor Seed Starting Stage 6: Planting Out
Our final stage of what to expect with indoor seed starting is the most satisfying one – planting out! After your plants have properly hardened off and you are sure they can thrive in your garden, it’s time to plant them outside.
Checking the weather conditions is key. You are looking for a mild spell in the spring and it’s best to plant out early in the day. Be ready to cover your plants if needed and enjoy watching them grow.
Remember, If you’re new to seed starting, and you know you need more detailed information on how to be successful, consider the Beginner’s Guide to Seed Starting workshop. It’s a replay of a live workshop that you can watch at your convenience. Find out more information here.
Do you get overwhelmed with garden planning?
Subscribe here for my best tips to plan your garden in just 7 days -- all for FREE.
Plus, I'll send you my "In the Garden E-mail" on Fridays, periodic updates on garden resources relevant to you, and you'll receive access to my entire bank of free garden downloads!
Thank you for this comprehensive guide on indoor seed starting! I’ve always been intrigued by the idea but felt a bit overwhelmed. Your breakdown of the stages and common mistakes really helps. Do you have any additional tips for dealing with unexpected challenges during the growing phase, especially for beginners like me?


Thank you for this comprehensive guide on indoor seed starting! I’ve always been intrigued by the idea but felt a bit overwhelmed. Your breakdown of the stages and common mistakes really helps. Do you have any additional tips for dealing with unexpected challenges during the growing phase, especially for beginners like me?
Yes, this may help: https://journeywithjill.lpages.co/seed-starting-troubleshooting-guide-fb24/