How to Save Seed From 8 Popular Crops
Saving seed from your garden crops is a great way to save money on the following year’s planting. Plus, how rewarding is it to know that you are able to grow crops from your own seeds and know your crops will grow better because they are already accustomed to your climate and growing conditions?
Before you begin trying to save seed, let’s first take a look at which seeds are the best and easiest to save.

If you are nervous about trying to save your seeds, don’t be. After you learn the basics, the real process of saving seed is pretty simple — even for a beginner.
Where To Start With Saving Seed
Before you start, let’s go over some basics. First, you will need to be aware of which seeds you can save. There are three types of seeds that are good for saving:
- Open-Pollinated (not hybrid) which are sometimes also referred to as Heirloom
- Self-Pollinated (don’t require an insect or wind to pollinate because the flowers contain male and female parts)
- Cross-Pollinated with no different varieties of the same species nearby (the distance can vary from 10 feet up to miles and this can depend on which crop)
Easiest Crops to Save Seed
There are a handful of crops that make seed-saving easy and an added benefit is that you’ll have a jump-start on next season. Plus, you’ll be saving money, too.
Beans, Cowpeas, Peas
Beans, cowpeas, and peas are great crops to start with when you are ready to begin saving seeds. They are mostly self-pollinated. Technically, there should be about 10-20 feet between varieties in order to get the same plant next year; however, I’ve broken this rule on multiple occasions with no ill-effecgts.
To save these seeds, wait until they are completely dry on the vine before you harvest them. If that is not possible, allow the pods to dry and then store when seeds cannot be dented with a fingernail.
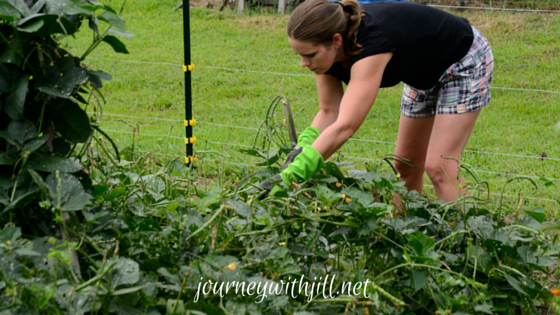
Watermelon
Watermelon seeds are simple to harvest. These are insect pollinated and there should be about 800 feet between varieties if you want to successfully save seed from them in order to get the same crop with no cross-pollination. All you need to do is scoop out the seeds, rinse, dry for several days until completely dry, and store.
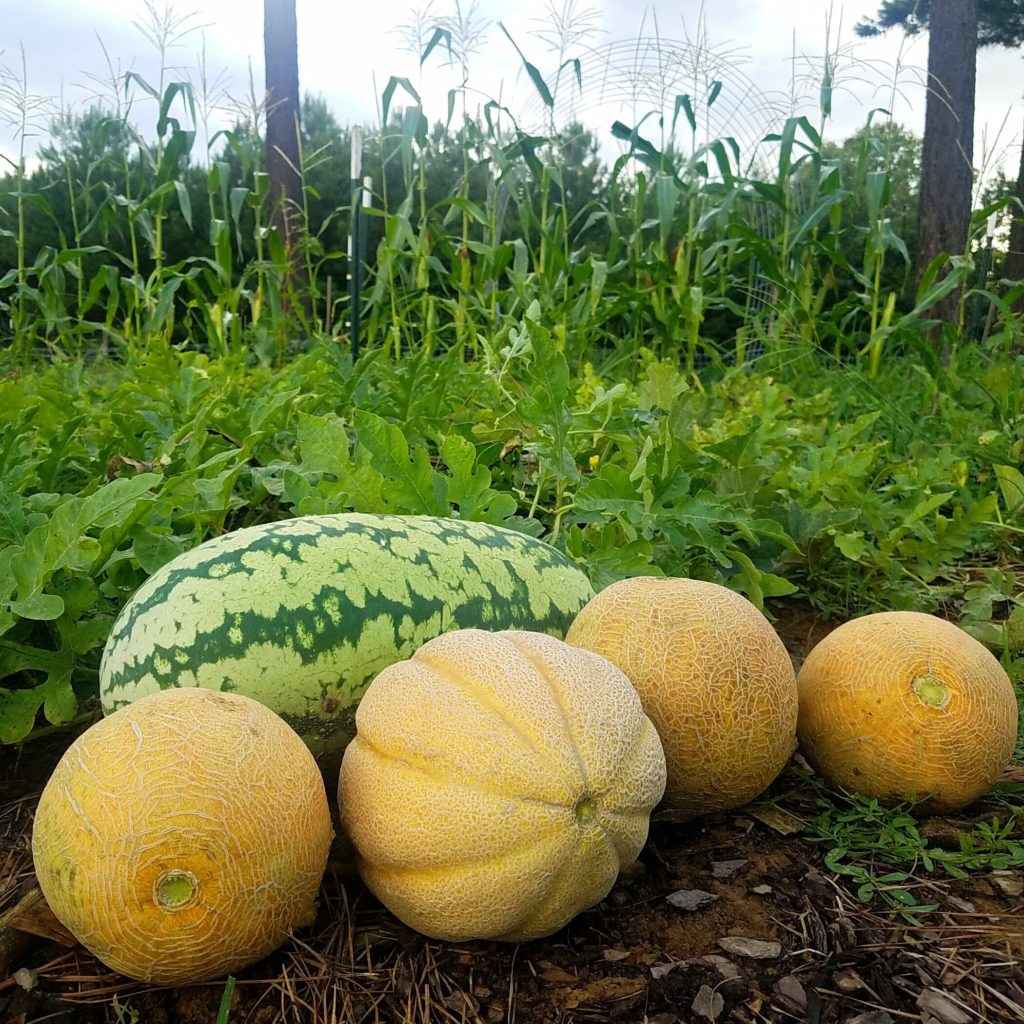
Okra
When saving seed from okra your best option is to save seed if you only planted one variety. All you need to do is wait until they are completely dry and cracking open to harvest the seeds.
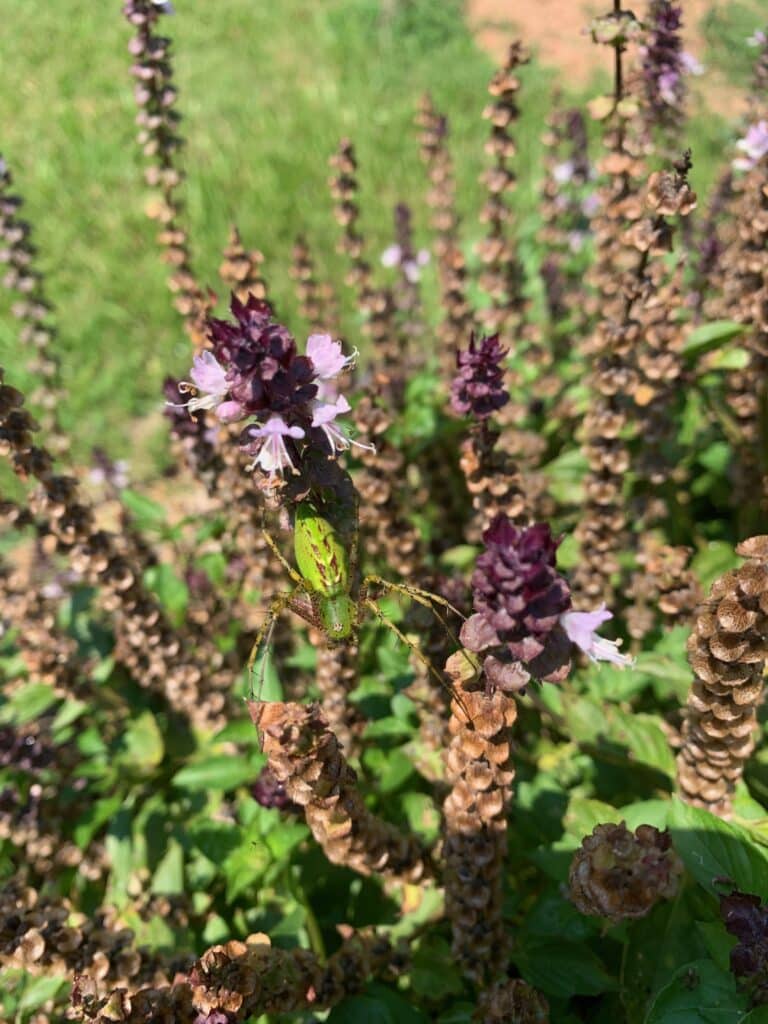
Basil
For basil you only want to save seed if you grew one kind of basil since they are insect pollinated and will cross. Wait until the flowers turn brown and crisp up. Then, simply open and you’ll see the black seeds.
Tomatoes
The process is a bit different for saving seed from tomatoes. Tomatoes are also self pollinated though they can be insect pollinated as well. If you want to save seed from them and be sure to get the same variety next year, you need to have at least 10-50 feet between your varieties.
To collect tomato seeds, scoop out the seeds and put them in a container. Leave the container to sit for at least one day in a warm spot out of direct sunlight so the pulp can ferment, at least 80-90 degrees F. This will allow the tomato seeds to separate from the gelatinous coating that covers them.
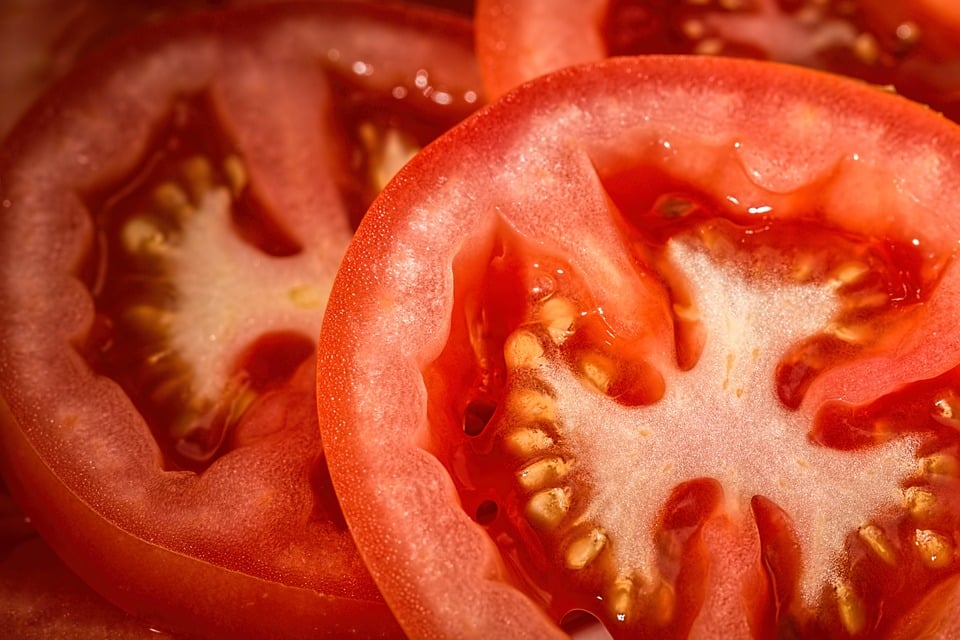
Viable seeds will sink to the bottom of this mixture and dead seeds will float. When a small amount of mold begins to form on the mixture, pour off the floating solids and dead seeds and thoroughly rinse the sunken seeds in running water. A fine mesh strainer will come in handy with this step. Once thoroughly washed, seeds can be placed on a screen or a coffee filter and left to completely dry for 5-7 days.
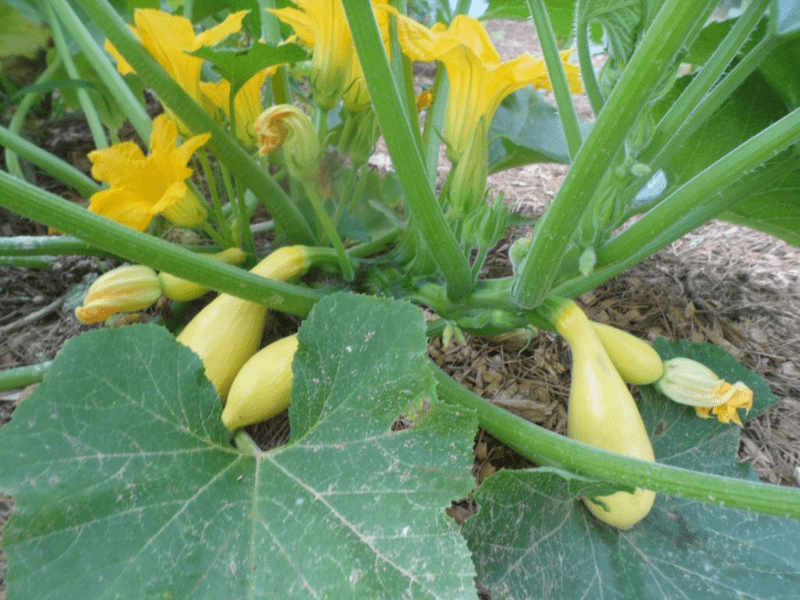
Squash
There are two types of squash and they each have different harvest times but they are both insect pollinated.
Summer and winter squash saved for seed collecting will be larger than their market-mature size and typically will undergo a color change when they are at seed maturity. Seeds are ready to harvest when the rind is too hard to dent with a fingernail and the stem is dry.
Cucumbers
Cucumbers are ready to harvest for seed saving several weeks after they are mature and have turned yellow to orange. These are also insect pollinated, so keeping varieties separate is a must to ensure no cross-pollination.
To collect seeds, cut the cucumbers in half lengthwise to extract the seeds. Scoop out seeds and any surrounding pulp from the seed cavity.
Place this mixture of seeds and pulp into a small bucket or jar with some water. The mixture needs to undergo fermentation for 1-3 days to remove the pulp from the seeds.
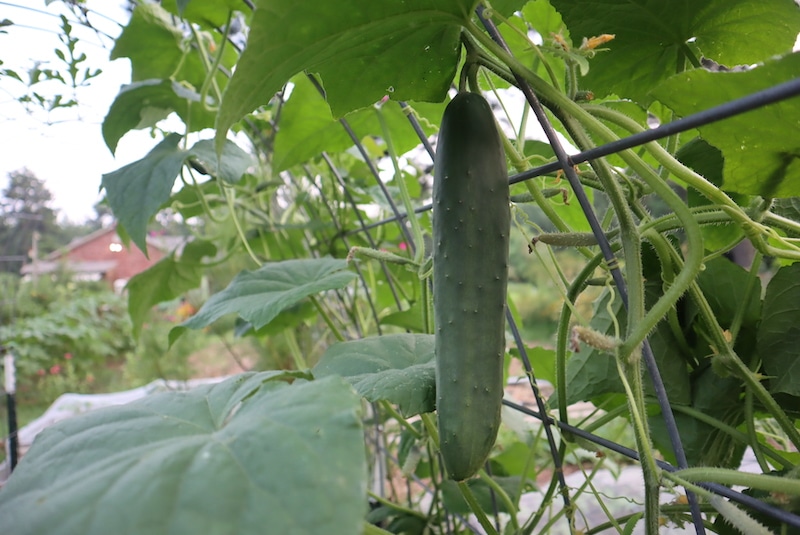
The fermenting mixture should be held in an open container at temperatures between 70-80 degrees F. When fermentation is complete, decant the seeds by adding more water to the container and stirring the mixture.
The pulp and lightweight seeds will float to the top and can be poured off, leaving only viable seeds which will have settled at the bottom of the container. Once the seeds have been rinsed clean, set the seeds out to dry on coffee filters or old window screens until they can be cleanly snapped in half.
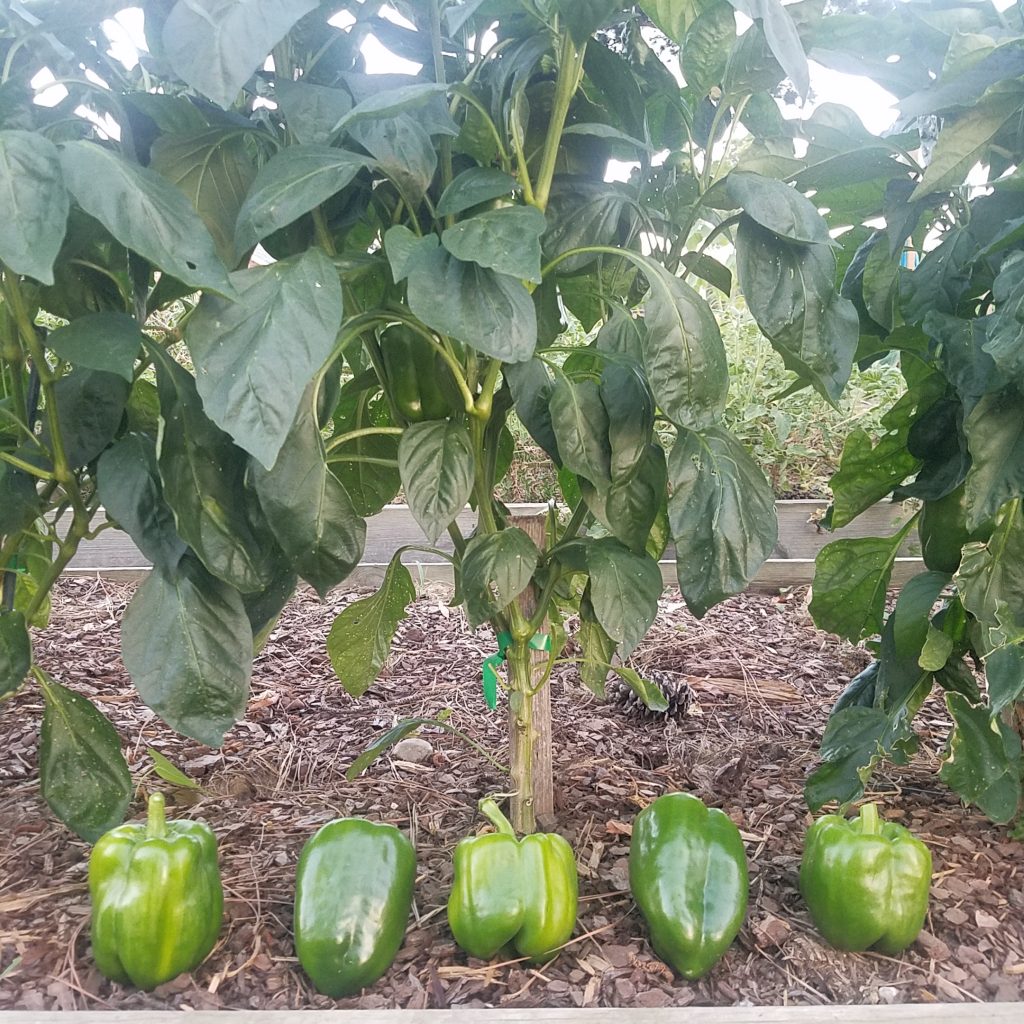
Peppers
Peppers are ready to harvest for seed saving about two weeks after they reach maturity. In this mature state, they will most likely turn red, yellow or orange. Peppers are also insect pollinated, so it’s important that proper distance is kept between varieties.
To collect seeds, extract the seed by cutting around the top and dislodging the seeds. Rinse and dry the seeds. You’ll know they are dry enough when they easily snap in half.
Follow these easy steps and you’ll have plenty of seeds ready to go next time you are ready to plant your garden, plus you’ll be saving money, too. If you’d like even more information about seed saving check out this resource from Seed Savers Exchange.
Garlic Planting Cheat Sheet

Garlic is the easiest and most rewarding plant you can grow! All you have to know is some basics:
- WHEN to plant
- WHAT KIND to plant
- WHERE to purchase
- WHERE NOT to purchase
- The simplest WAY to plant, whether you have a raised bed, a plot of land, or container. This step is SUPER EASY!
Enter your e-mail address, and I'll send you the cheat sheet immediately!
Plus, I'll send you my "In the Garden E-mail" on Fridays, periodic updates on garden resources relevant to you, and get access to my entire bank of free garden downloads!
You are also agreeing to our privacy policy.