
10 Steps to Planning a Multiple Season Garden Layout
A few weeks ago I found myself staring at my empty grid paper, pencil in hand. I knew what I wanted to plant and how many plants I wanted to grow. But, putting the pen to paper to define exactly where I wanted my crops to go in my garden layout can be an overwhelming task, even to this well-seasoned gardener.
If you feel this way, too, as you begin planning your garden’s layout, don’t stress. In our recent podcast, we go into every detail to help you focus on ten practical steps that will allow you to get started with your garden layout. You can listen to that episode or continue reading the article below.

Think Beyond the Spring
For a one-time only garden, planning the garden layout isn’t all that difficult. But if you desire to grow early spring crops and fall crops, in addition to your summer garden, planning a garden layout that includes all the seasons adds a new dimension and a new challenge.
Why go to all that trouble, you ask? I urge you to consider the rewards of growing more than a simple one-and-done garden. In order to harvest as year-round as our climate allows and reap more enjoyment out of our garden, focus on making this a lifestyle change that truly enriches your life in the greatest of ways.

This can be overwhelming at first because we have to be thinking ahead and preparing our garden for a year-round garden that maximizes our space in every season on the calendar. Keep a pencil handy because you’ll make changes. This is normal as this is a fluid process.
While I’m sure every gardener has a different take on how to plan their layouts, below you’ll find my method. Even if you don’t go through all 10 steps in order, perhaps you can draw on some of this knowledge to help you plan your full season garden.
1. Draw Out Every Garden Space You Have
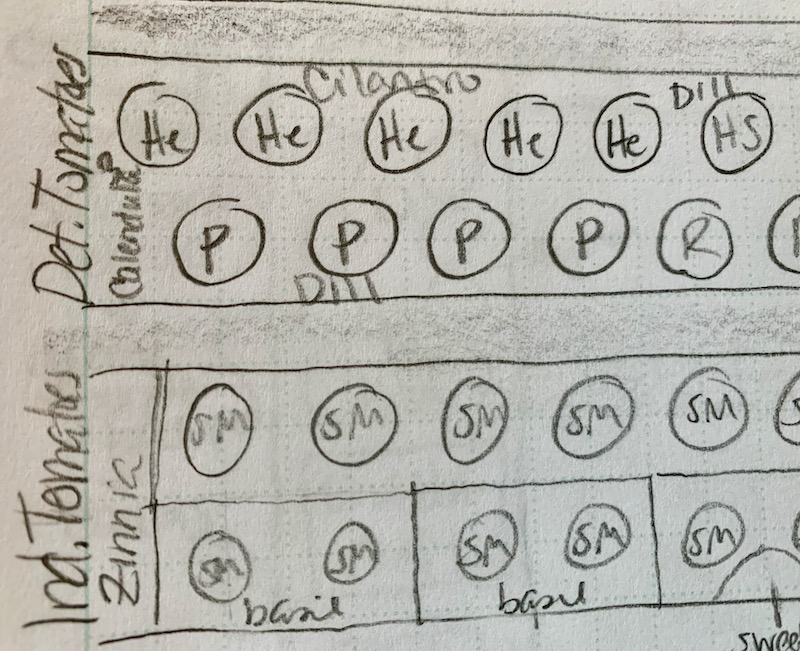
Take your pencil to the paper and draw out every in-ground garden space, every raised bed, every container, grow bags, vertical planters, pots, etc. Grid paper is super helpful to give you those straight lines and help keep you organized. If you plan to add new beds or containers in places, add these into your space as well.
If you have an in-ground garden, make sure you add your pathways and spaces between rows. I prefer a minimum of 24″ pathways in my ground beds between rows and 3 feet between raised beds. I even suggest you go outside and physically measure your spaces. You’ll need to know how much space you have to plant specific plants in.

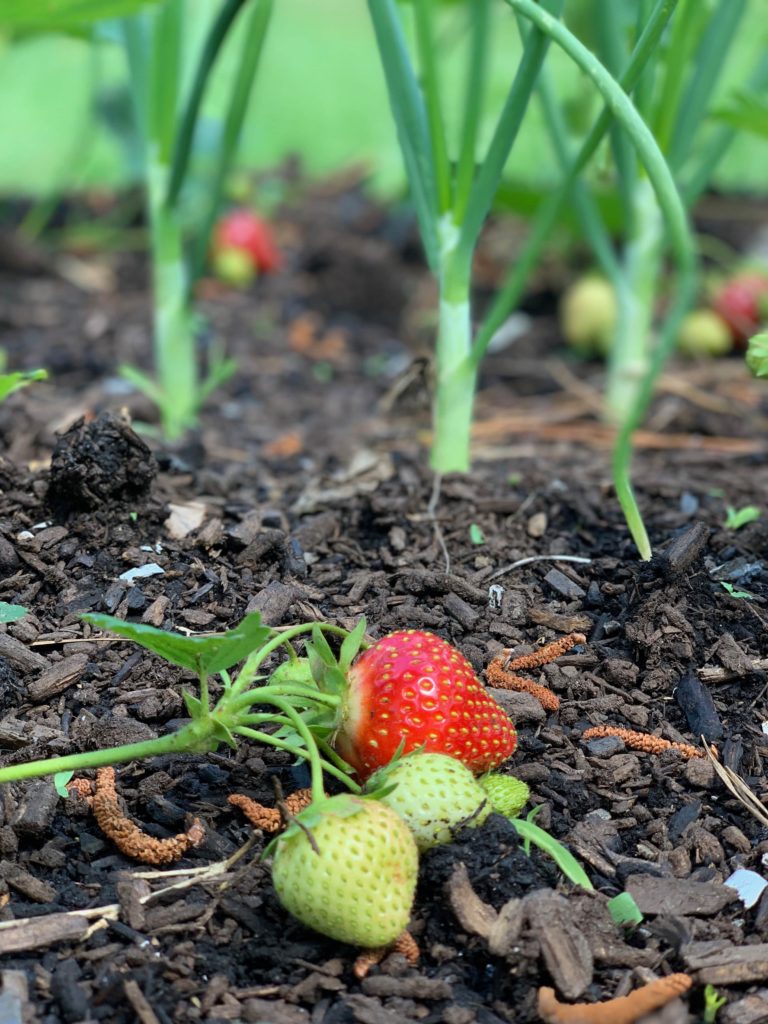
2. Draw/Label Perennial Plants from Prior Season
In case you are new to gardening, perennial plants come back each season and we typically don’t move these plants. You’ll want to label your layout with these plants since that space is already reserved. For myself, this includes strawberries, asparagus, and other berries.
3. Draw/Label any Overwintered Plantings
Anything that has overwintered or has already been planted (that isn’t a perennial) will need to be labeled on your grid next. A good example of this for me is garlic. I plant garlic in the fall and don’t harvest it until June, so I need to know that I can’t use that space until closer to July.
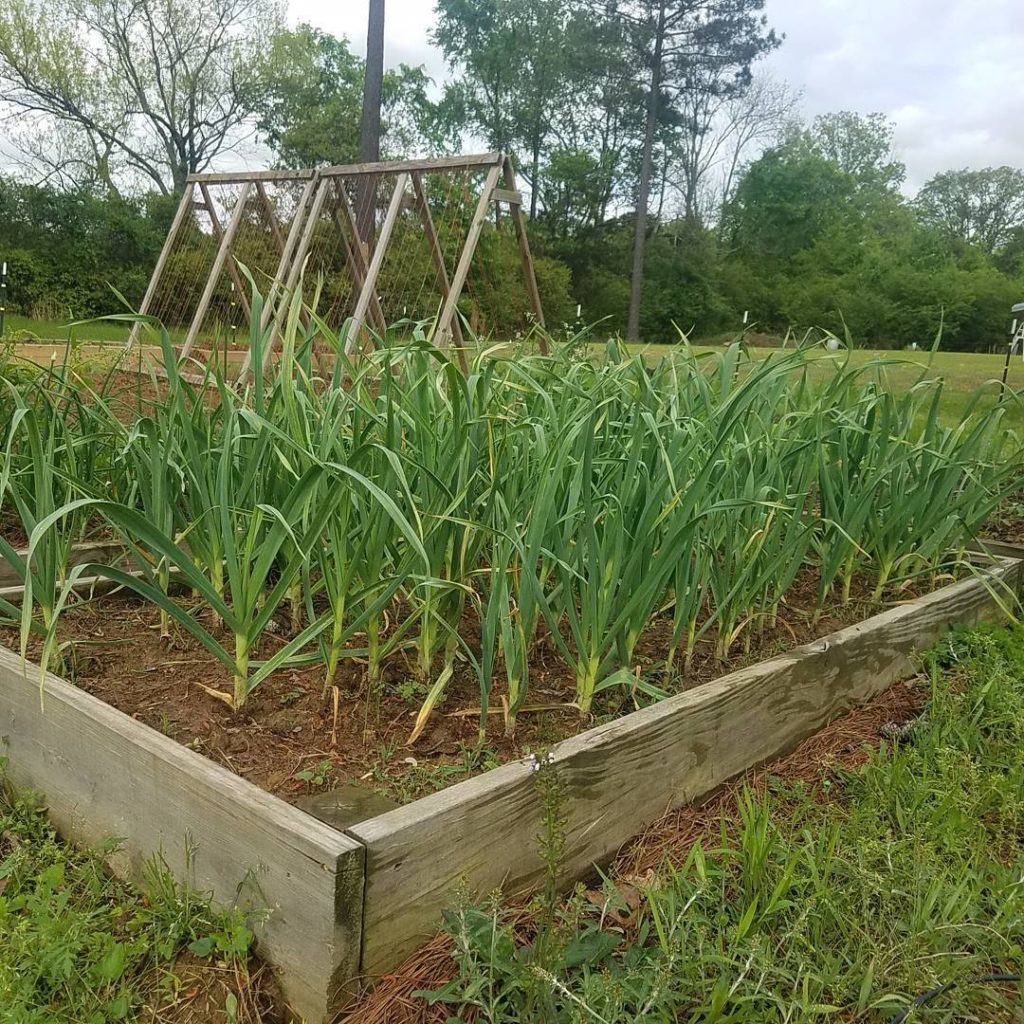
Garlic isn’t the only overwintered vegetable you need to label. Depending on your climate you may still have Brussels Sprouts or other cold-hardy crops that won’t be harvested until a few months from now. But keep in mind as you label, most of these crops won’t occupy your garden all season long. Because of that, keep space on your grid to label what you will plant in succession.
4. Start with crops you know need to go in a specific place
You may know already that you want to plant certain crops in specific places. I know where I want to plant onions each year (based on my crop rotation) and so I put them on the garden layout first. I also know exactly where I want my straw bale garden to be. So, they were the second thing I added to my layout.
If you’re new to gardening, you probably don’t have specific places in mind, but if you know for certain you need a crop to go somewhere (especially if it’s a perennial) add them first to the layout.
5. Consider crops that need specific and/or permanent trellising
If you have a trellis in your garden that can’t be moved, make sure you get those crops added to the layout next, as the options are a bit limited on what crops actually use that type of trellising.
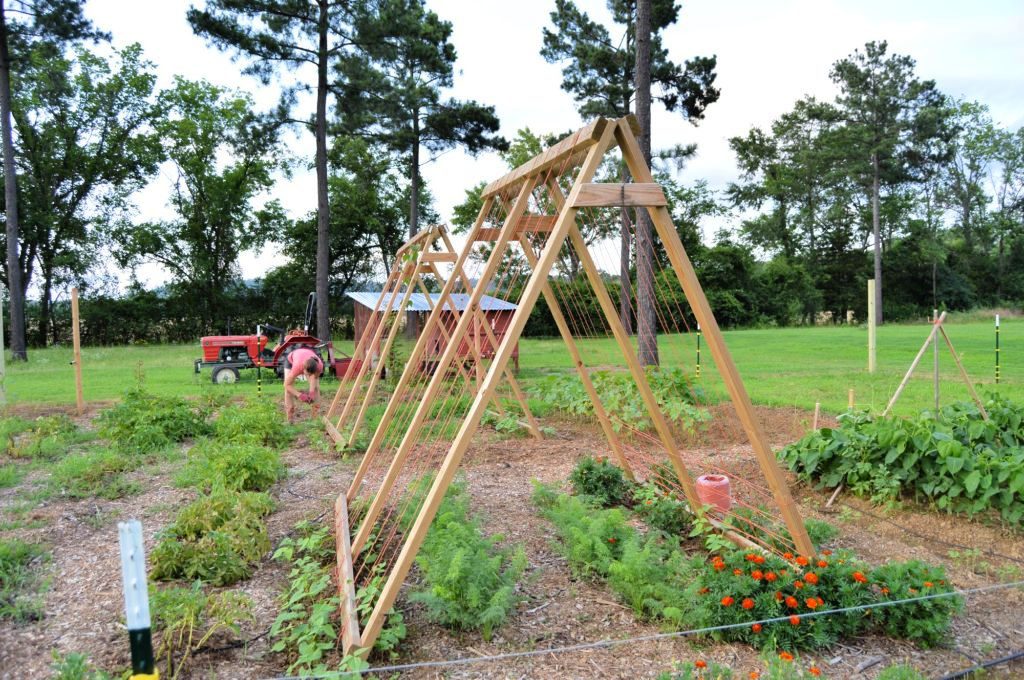
The second part of this is to focus on the trellising you may have that can be moved. Any plant that climbs needs a trellis (Luffa, Cucumbers, Pole Beans, etc.)
6. Label crops that need a certain environment or specific bed.
Just like you may know that you want some crops in specific places, you also may know that you want some crops in a specific type of bed.
For example, in my garden, I grow in a combination of ground beds and raised beds. From experience, I know that certain crops do better in the ground (corn, black-eyed peas, etc.), others do better in the raised beds (peppers, garlic, etc.), and some can handle either/or equally.
So, draw out the crops that you know you want to be planted in these specific spaces next. This includes your containers, your grow bags, and your vertical planters.
7. Consider succession planting or relay planting combinations
Relay planting is like succession planting, except that you plant your crops towards the end of the life of what’s currently planted and they grow together for a while until that first crop comes out.
Succession planting means you remove your old crops and plant new ones in their place. Considering good combinations means taking a look at specific crops and knowing when they will be removed from your garden and planting something either in their place immediately, or while they are on their final stages of harvest.

8. Look for companion planting combinations
After I get my main crops on my garden layout, I look for good companions to go with the crops. If you are new to gardening, it’s important to know that not all crops are meant to be friends! I’ve found that waiting to add companions to the end of the layout makes it much less stressful than trying to do it all at once.
9. Note where you want to add flowers and herbs
You can easily combine steps 8 and 9 and plan to add where you want your flowers and herbs as you consider the companion plants.
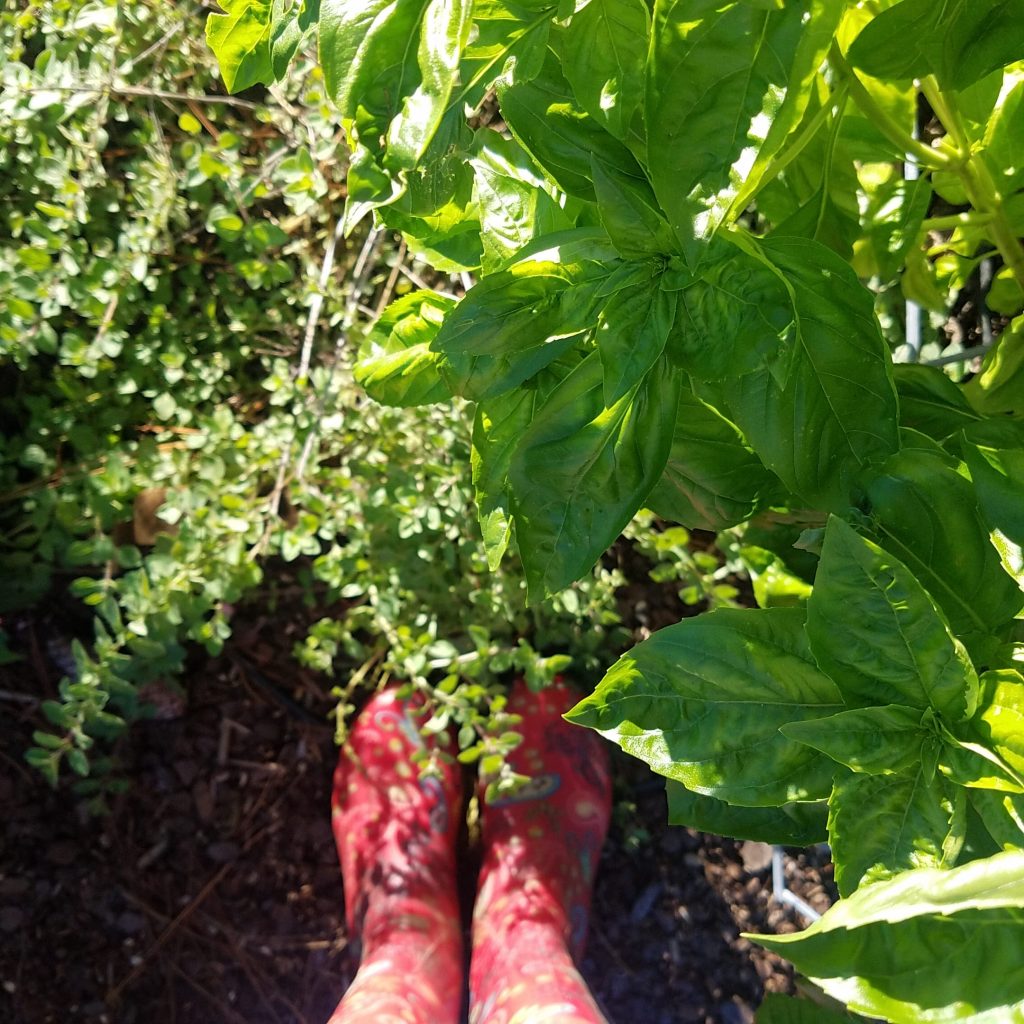
Annual herbs generally take up much less space than fruit and vegetable crops, so tucking them in to smaller spaces at the end of the layout process is super simple.
Another tip — because it’s always best to have something growing than nothing at all, mid season cover crops like buckwheat can be tucked into an empty garden space between a spring harvest and a fall planting.
10. Label Containers
Depending on what you plan on planting in your containers, this is a step that can be done anytime. But, for myself, I plant specific crops in my containers and so I wait to label these at the end.
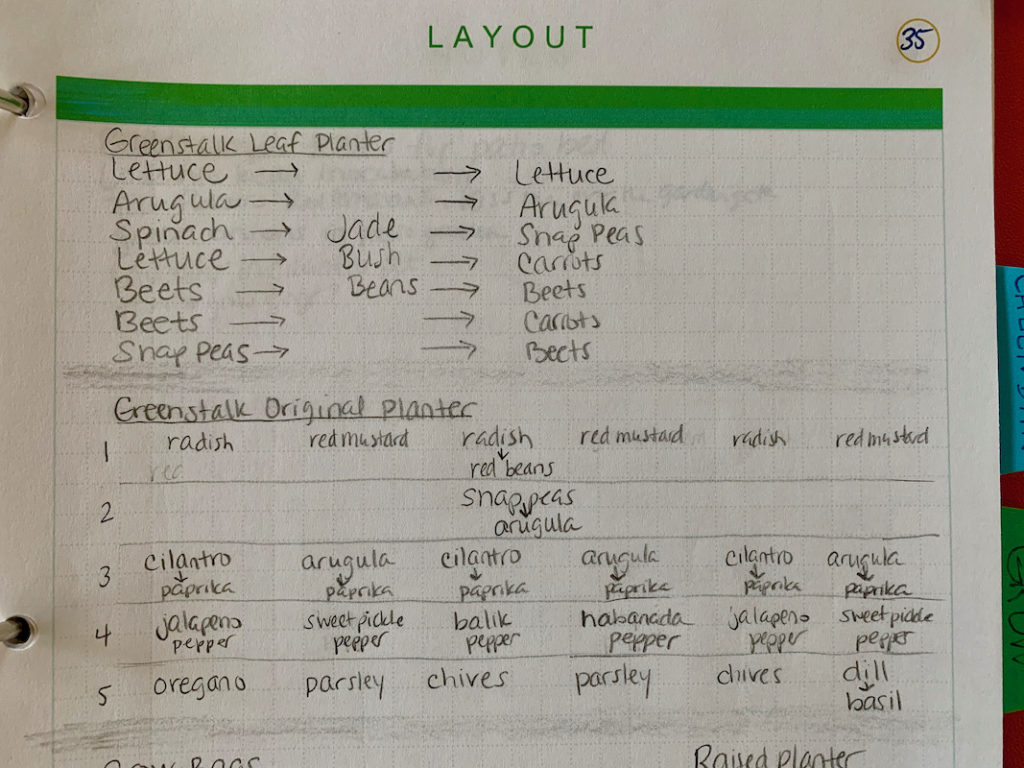
The important thing here is that you not forget them and remember that you can also succession plant in containers just like you can in other places in your garden.
If you find yourself jumping back and forth from different steps, well, you’re just like me! This is completely okay and this is why we garden plan in pencil. The size of your garden will dictate how difficult the planning process is.
Above all, have fun! Planning your future garden is one step closer to making your garden dreams come true!
Do you get overwhelmed with garden planning?

Subscribe here for my best tips to plan your garden in just 7 days -- all for FREE.
Plus, I'll send you my "In the Garden E-mail" on Fridays, periodic updates on garden resources relevant to you, and you'll receive access to my entire bank of free garden downloads!
You are also agreeing to our privacy policy.
Jill, do you have a blog post showing successful raised bed layouts? I would love to learn what worked well for you. We are in zone 6b with clay soil as well, so I feel like our growing zones aren’t too far from each other 🙂
I have several, along with a product with Raised Bed designs. They all can be found here: https://journeywithjill.net/?s=layout