How to Prepare Soil for Growing Garlic
Are you preparing your garlic beds for planting? What is the best way to ensure your garlic grows to its full potential next summer?
Garlic is so easy to grow and definitely the most hands-off crop. Once you learn the basics of growing garlic and you see how easy it is, garlic will become a staple in your fall garden plans.
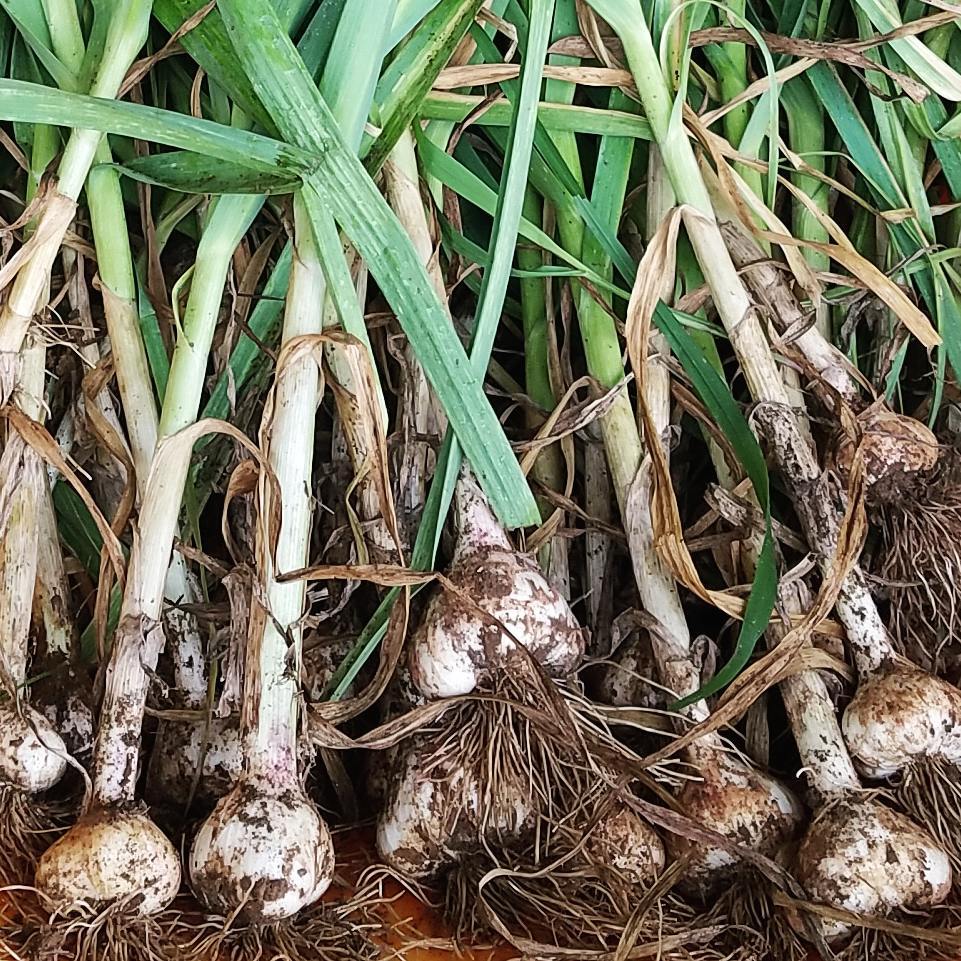
I’ve been growing garlic for the past six or seven years; however, my 2020 harvest was the best I’ve ever had!

*links below may contain affiliate links, which means if you click through and make a purchase, this blog will earn a commission at no extra cost to you.
I wish I could tell you that I have the precise formula for what resulted in such a generous crop this season, but as most seasoned gardeners know, there are no promises when it comes to gardening. Sometimes it’s hard to tell if a great harvest is the result of luck, Mother Nature’s favor, or something specific you do. But in this case, I have to believe how I prepared my soil differently definitely had an impact on the results.
When to Plant Fall Garlic
The most important first step in preparing for a bumper garlic harvest is to plant your garlic at the correct time.
I plant garlic around my first fall frost date. Typically, I’ll have a frost-tender crop coming out around this time, and it’s perfect to replace those crops with garlic. This, for me, is peppers, zucchini, cucumbers, or tomatoes.
Some gardeners plant garlic before the average first frost date, and some plant after. The good news is that garlic is pretty forgiving when it comes to the timing. The goal is to get it in the ground while the ground is still fairly warm so its roots can establish before the cold sets in.
Learn more about when to plant garlic.
Preparing the Soil for Garlic
The most important considerations for soil when it comes to planting garlic are soil structure and soil fertility. With soil structure, you want to make sure your soil isn’t too heavy (clay) or too light (sand). Retaining water and nutrients without the soil becoming water-logged is important. With this in mind, these are the steps I took to prepare my soil before I planted in the fall:
Incorporate organic matter
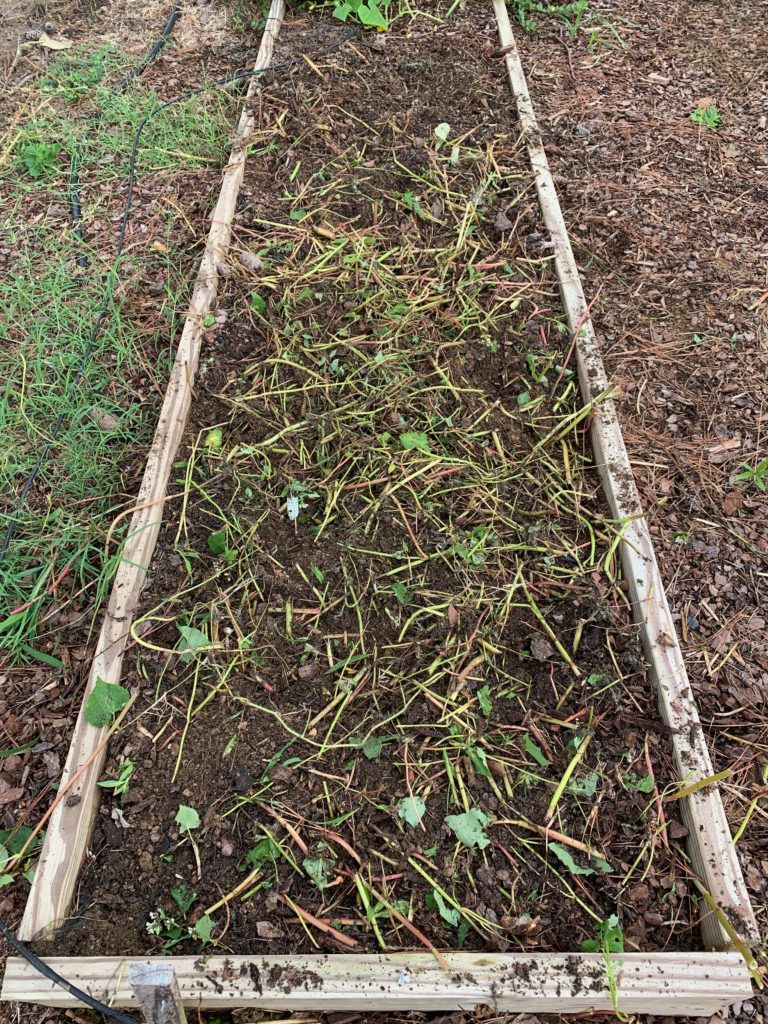
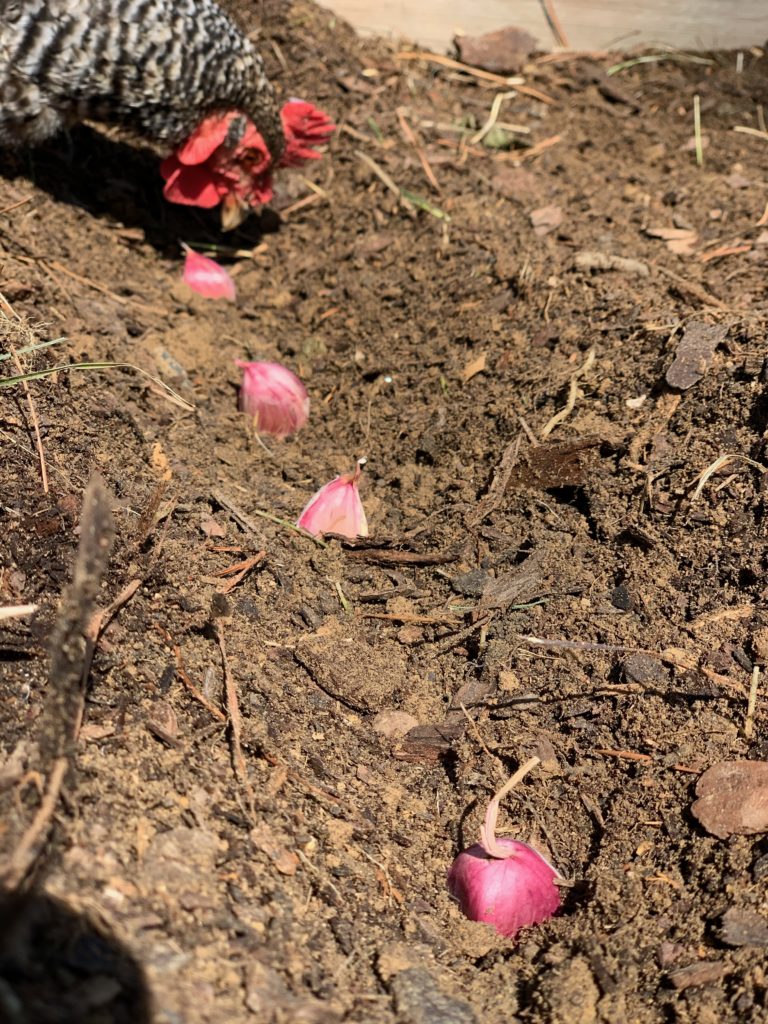
The first thing I did over the summer before planting to prepare my soil was a bit of an accident. The plants that were growing where I planted my garlic were mostly root crops (carrots, radishes, and arugula). I had grown arugula in the early spring and then it went to flower.
After this arugula flowered, I ‘chopped and dropped’ it into the soil. To chop and drop means to cut these plants at soil level, take your garden hoe, and literally chop these plants into the soil. This organic matter returned into the soil replenished nutrients and soil structure.
As mentioned, this step was more of an accident, so you may not be able to do this at planting (unless you have a spent crop ready to go).
But I mention it because anytime you can let spent (non-diseased) plants compost into the soil in which they grew, this helps the overall soil health. And I believe this did play a role in preparing my soil for garlic planting.
Add Compost
I mulched this area over the summer with bulk (weed-free) compost from my local landscaping company. I usually mulch with wood chips, but I chose compost because it was easier to add around the smaller plants I had in this bed. This compost broke down so well and I was shocked to feel the difference in my soil texture when I went to prepare my soil for garlic planting.
If you have not added compost in some form, definitely add it at planting time for your garlic. Compost adds nutrients, improves soil structure, retains moisture, and helps with long-term fertility of the soil.
Add organic nitrogen
It’s important to have nitrogen in your soil in order to form stems on plants like garlic and onions. As plants grow and get large and leafy, those stems feed your bulb.
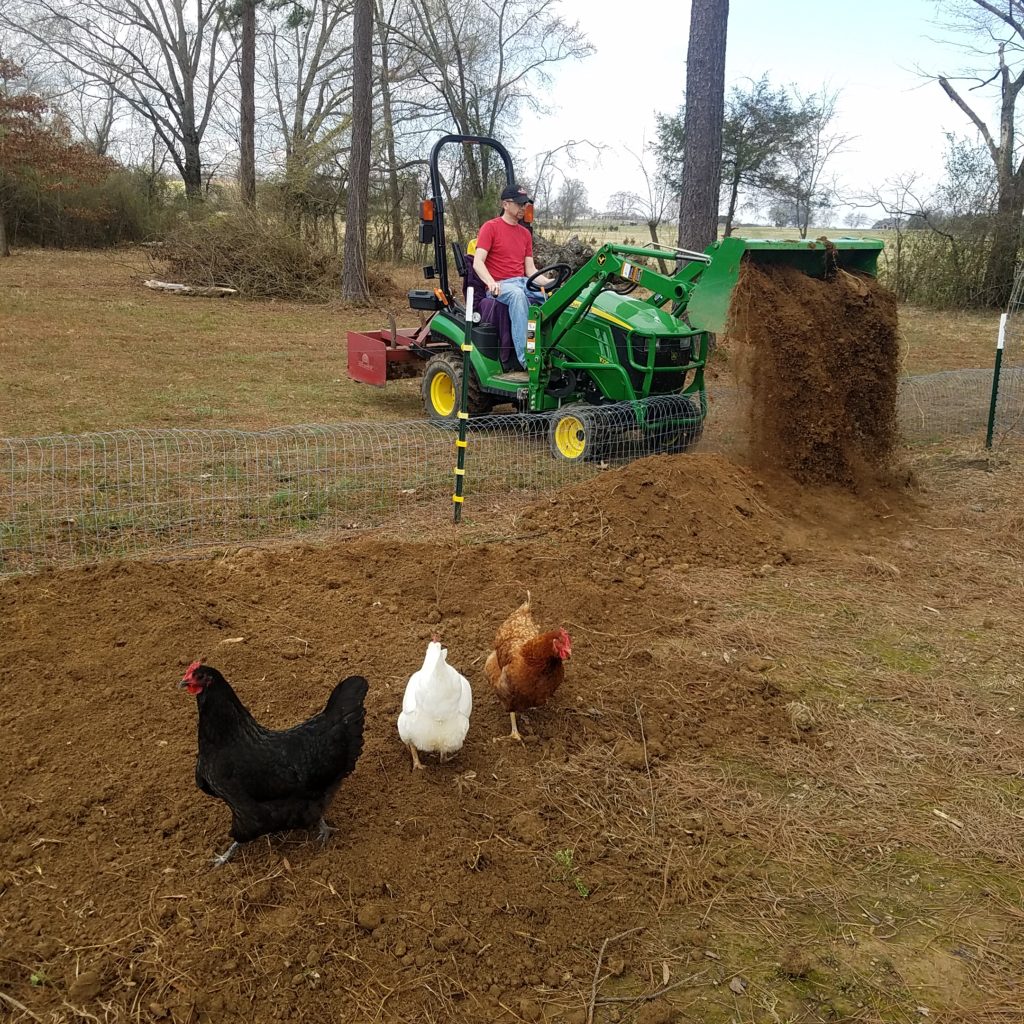
A great organic source of nitrogen for your garden soil is chicken manure, and since we have chickens, I’m never in short supply. Another organic source of nitrogen is blood meal.
Add organic fertilizer (maybe)
This year I decided to add organic fertilizer in addition to compost. Options include nutrient-specific fertilizers or an organic all-purpose fertilizer.
In addition to the nitrogen mentioned above, one nutrient-specific option is an organic phosphorus source like rock phosphate. Garlic and root crops flourish with adequate amounts of phosphorus.
However, most garden soil is not lacking in phosphorous and every recent soil test I’ve ever taken has also confirmed that. We don’t want too much phosphorous in excess as it sheds and it’s not good for our water supply and the environment in the long term.
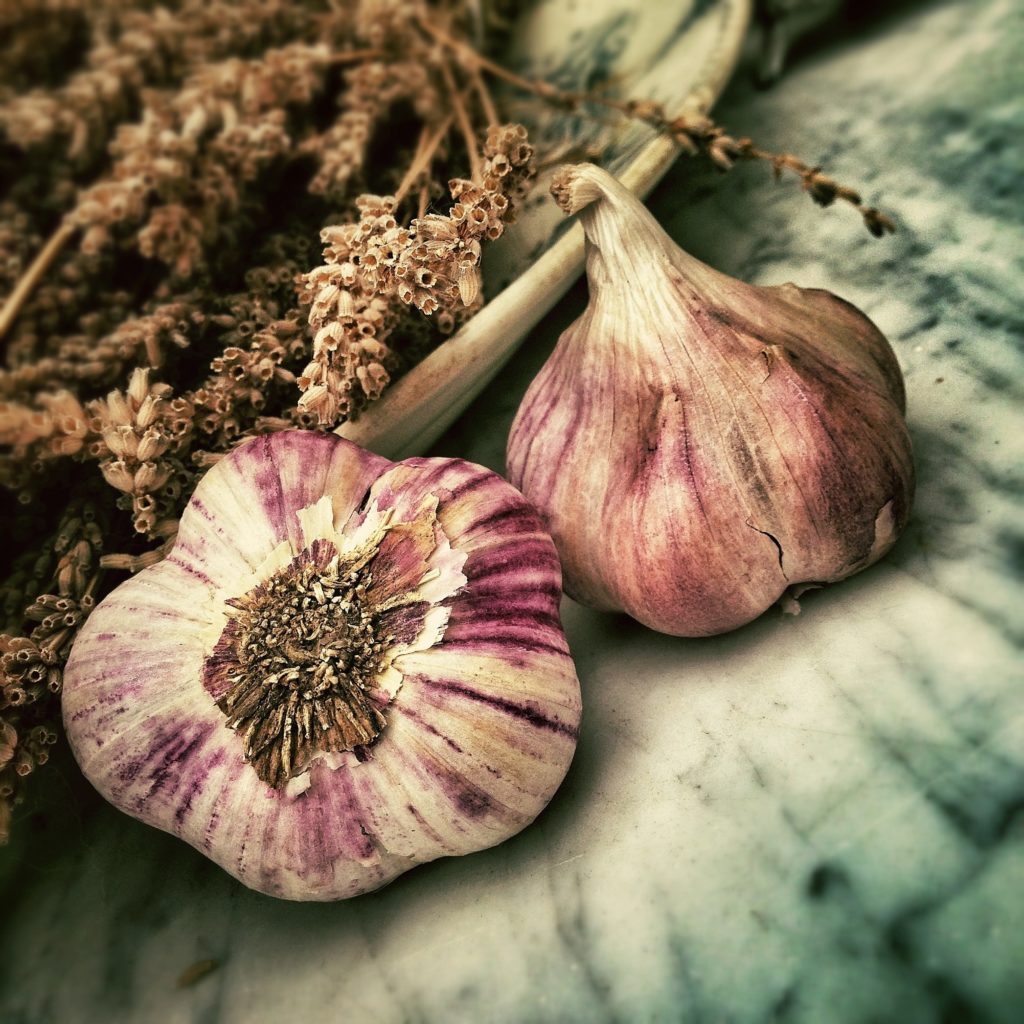
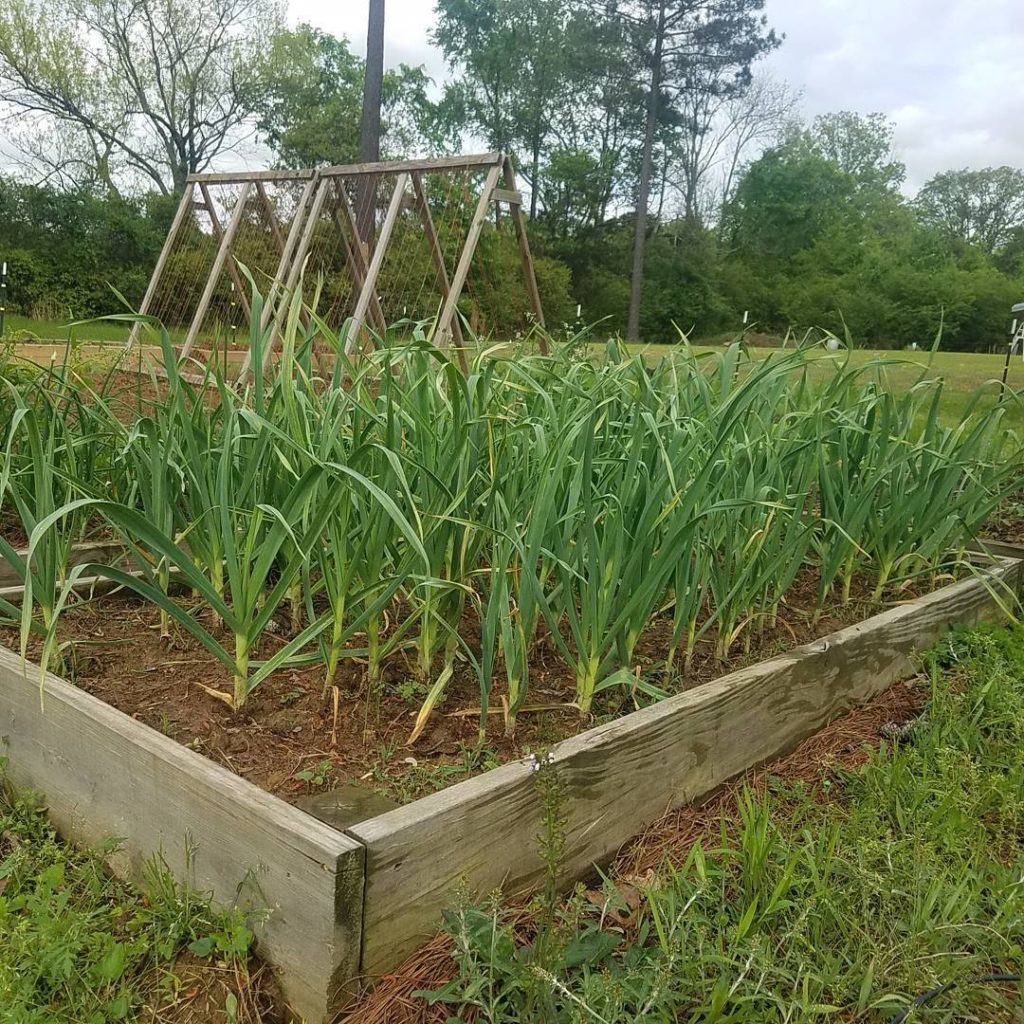
do recommend getting a soil test prior to adding any phosphorus to your soil. You can contact your local cooperative extension agency or use a quick and easy service like Another option is a potassium-based fertilizer. I used wood ash from my fireplace. Be careful, though, because wood ash can raise the pH of your soil. I knew my soil was slightly acidic, which was why I added it. If you’re unsure, another option is greensand. Again, I recommend a soil test to be sure your soil needs potassium and to learn the appropriate application rate. If you haven’t done a soil test or just want to focus on general fertility, adding an all-purpose granular organic fertilizer is a great option. Its slow-release capability will enable it to continue to feed your garlic for the many months it will be in the ground. Another thing I changed this year was the spacing of my garlic cloves (which is what you plant when you grow garlic). In the past, I’ve planted my garlic closer together, roughly 4 inches apart. This year, I planted my garlic cloves 6-8 inches apart. Before planting, you’ll want to dig a trench for each row of garlic a few inches deep and then plant the garlic cloves pointy side up. Then, cover your cloves back up with the dirt. Soft neck garlic is what most southern gardeners plant as they do better in areas where it doesn’t get too cold. Hard neck garlic can handle cold winters much better. If you get fairly cold weather in the winter (I’d estimate Zone 5 and below), you probably want to plant hard neck garlic. I’m zone 7b and in the past, I have planted only soft neck garlic. This year, however, I planted both varieties as an experiment. The results? The soft neck garlic, of which I planted Incheliem Red and Lorz Italian varieties, definitely produced a better harvest than the hard neck garlic. However, the hard neck crop has a stronger flavor and bigger cloves, making it a bit easier to work with in the kitchen. Plus, hard neck garlic produced delicious garlic scapes! (Lovely with roasted asparagus.) Because I enjoy the storage quality of soft neck and the taste and ease of use of hard neck, both types of garlic have landed a permanent place in my garden. How much you mulch garlic depends on your winter climate. I had always mulched with a thin layer to protect my plants in years past, but this year I changed. Because in my zone 7b climate we don’t get super cold in the winter, and our ground doesn’t freeze, I decided to test not mulching over the winter. Garlic requires a cold period to produce its best in the spring. If you live in a cooler climate, you’ll want to mulch your garlic beds in preparation for the winter. The colder you are, the more inches you should add, but most places should mulch just a few. Garlic (especially hard neck) is hardy. Although I didn’t mulch the garlic at planting, I added mulch in the spring to cut down on the weeds. Garlic doesn’t compete well with weeds, so when I saw winter weeds springing up in early February, I added mulch. Although I had my best garlic harvest using the steps above, I can’t tell you which one (if any, or all) was the golden ticket. In future years I will continue testing, but I do believe there is one principle that will serve you well for garlic growing: organic matter. The more compost and organic matter you can incorporate into the soil, the better. In addition to the record harvest I talked about above, I also planted a second bed last year that didn’t yield as great of results. I talk more about the principles above and what might have caused the differences between the beds in the full podcast episode below: And, don’t miss Q and A podcast episode: “Can I plant garlic from the Grocery store?” For more garlic growing and harvesting tips, check out How to Harvest, Cure, and Store Garlic, and Should You Grow Garlic? Ready to grow your own garlic? Download the Garlic Planting Cheat Sheet below! Garlic is the easiest and most rewarding plant you can grow! All you have to know is some basics: Enter your e-mail address, and I'll send you the cheat sheet immediately! Plus, I'll send you my "In the Garden E-mail" on Fridays, periodic updates on garden resources relevant to you, and get access to my entire bank of free garden downloads! You are also agreeing to our privacy policy.Spacing and Planting Garlic Cloves
Soft Neck or Hard Neck Garlic?
How Deep to Mulch Garlic?
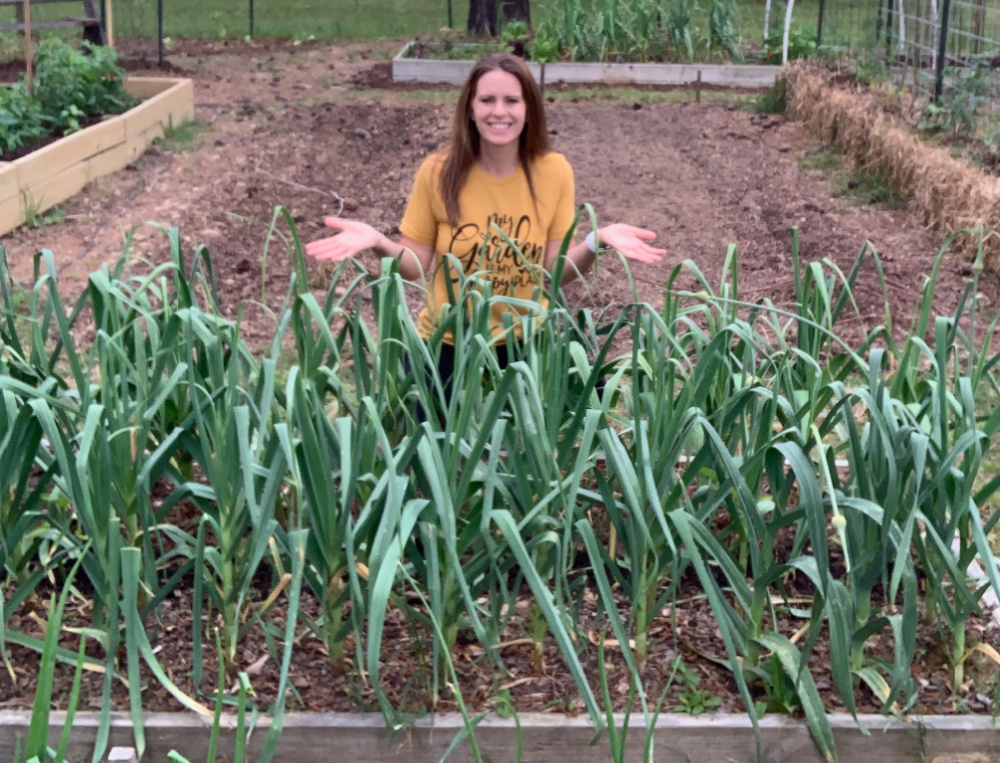
Best Way to Prepare Soil for Planting Garlic
More Garlic Growing Resources
Garlic Planting Cheat Sheet

Thanks great info.one thing I didnt see addressed, can you plant garlic in the same bed as the previous year?
It’s not really a recommended practice. Although garlic isn’t one that’s known for disease, when you grow the same crop in the same soil, the same nutrients are being taken up by the plant. If you were to amend your soil well, you probably would be fine, but make sure to add more nutrients in the form of compost, organic fertilizers, and organic matter.
Could I plant garlic in a raised asparagus bed? Raleigh North Carolina
I would be wary of that. Asparagus and garlic grow at about the same time, and I believe they would compete with each other. The only thing that *might* work is if your asparagus crowns are spaced out well, you may be able to fit a row of garlic between them, assuming perhaps a foot apart each way. Another challenge would be making sure your asparagus is harvested consistently until you harvest your garlic, because once the asparagus fronds begin growing, they would shade out the garlic and would give you trouble with the garlic harvest. This is, of course, assuming that your asparagus bed is old enough to harvest from. If you’re in the second year and aren’t harvesting, I don’t think you would be able to get your garlic out in time. Obviously these are just my assumptions, having grown both but never together.
When you “chopped and dropped” your arugula, what kind of tool did you use?
I used my Rogue Hoe. It’s a triangular-shaped sharp tool that allows me to cut them at the soil level and then incorporate them into the top layer of the soil.
Hi
When I harvest my green manure crop or cuttings from old vegetable plants instead of just digging them in I use my lawn mower to mulch them all up and then spread and dig into beds. I also usually add leaf mulch at the same time. Soils are well enriched using this method. Good luck.