How to Grow Vertically in a Straw Bale Garden
Are you thinking about growing in straw bales this year — and maximize your space by growing vertically — but don’t know where to begin? This guide will help you get started. We’ll cover:
- how to condition straw bales in an organic method
- which crops grow well vertically in straw bales
- the best trellising method for straw bale gardening
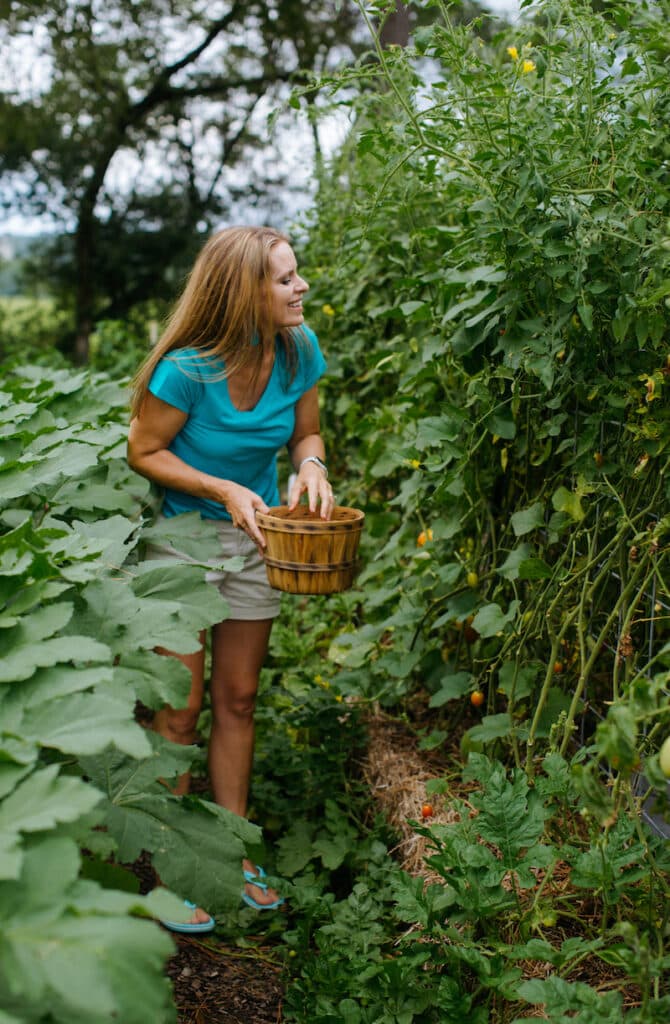
I’ve been growing a portion of my summer garden in straw bales for several seasons. It continues to be a go-to garden method for me, and using these proven techniques, my hope is that it will become a favorite method of yours, too!
*Links below contain affiliate links*

Why Garden in Straw Bales?
Straw bale gardening is a low maintenance maintenance garden method. The most work is in the very beginning when you take a couple of weeks to get the bales conditioned for growing properly. After the conditioning process, straw bale gardens require little upkeep.
“Conditioning” straw bales requires the adding of nitrogen to the straw to start the composting process within the bale. All-purpose fertilizer is also added later to provide complete nutrients to the crops that grow in them. You can condition your bales using organic or synthetic fertilizer sources. I have always used organic and I’ll share my method in more detail below.
Another huge benefit to straw bale gardening is that weeds are almost non-existent, and it requires little upkeep throughout the season.
How to Get Started with Straw Bale Gardening
The first step to growing in straw bales is to obtain the bales.
Where to Purchase Straw Bales
I purchase my straw bales from a local farmer’s co-op or feed supply store. Keep in mind, straw is different than hay. I no longer use hay on my garden at all because of getting hay that poisoned my garden. After that experience, I asked questions about the source of the straw I obtained, and while it is not certified organic, my local source assured me it was not sprayed with the same chemicals present in hay. I have never had any issues growing in straw like I did with hay. Still, it’s not a bad idea to ask your source to be sure.
When to Purchase Ahead of Planting
Make sure that you purchase the bales in enough time to condition them before you need to plant crops in them. I usually purchase my bales about three weeks ahead of planting time. That gives my bales two to three weeks to condition completely before planting.
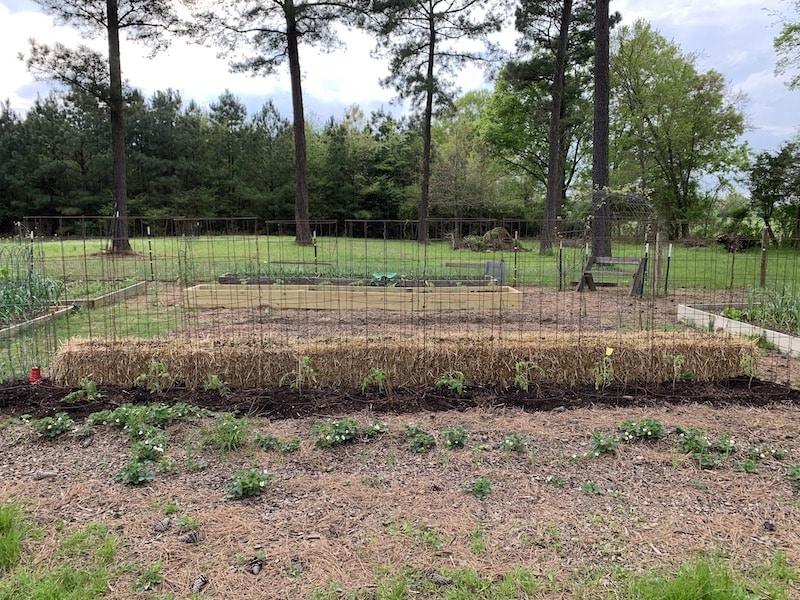
How to Place Bales in the Garden
When placing the bales in your garden, you can situate them one of two ways. Either have the straw in the bale going up and down or straight across. If it is going up and down, you will have a taller bale which puts your crops higher up off the ground and they will drain quicker.
But, my favorite way to situate the bales is with the straw going across because this will retain water for longer. I feel like that helps out my crops in our hot summers. This also helps to maximize my vertical growing while still being able to reach the top of the plants easily. Be mindful when you plant your crops in the bales that you don’t accidentally cut the string that’s holding the bale together.
How to Set Up a Trellis in a Vertical Straw Bale Garden
After setting the bales in my garden, I next want to situate the trellis at some point during the conditioning process. Anytime before planting is ideal, so your vertical crops can climb right away after planting.
Cattle Panel Trellis Option
I prefer to use a cattle panel trellis for my straw bales. Setting up a cattle panel trellis is easy with straw bale gardening. It does, however, require help from a second person to hold up and support the cattle panel while getting it set in place.
As you can see, you will need T-posts to secure the cattle panel — approximately one T-post every 2-3 bales. Drive the T-posts in place right behind the bales (not inside them). Then, situate the cattle panel across the T-posts, with the bottom of the cattle panel rising a couple of inches above the bale. Secure with heavy duty (UV resistant, preferably) zip ties. (Scroll to see the video for a demonstration on how we do this.)
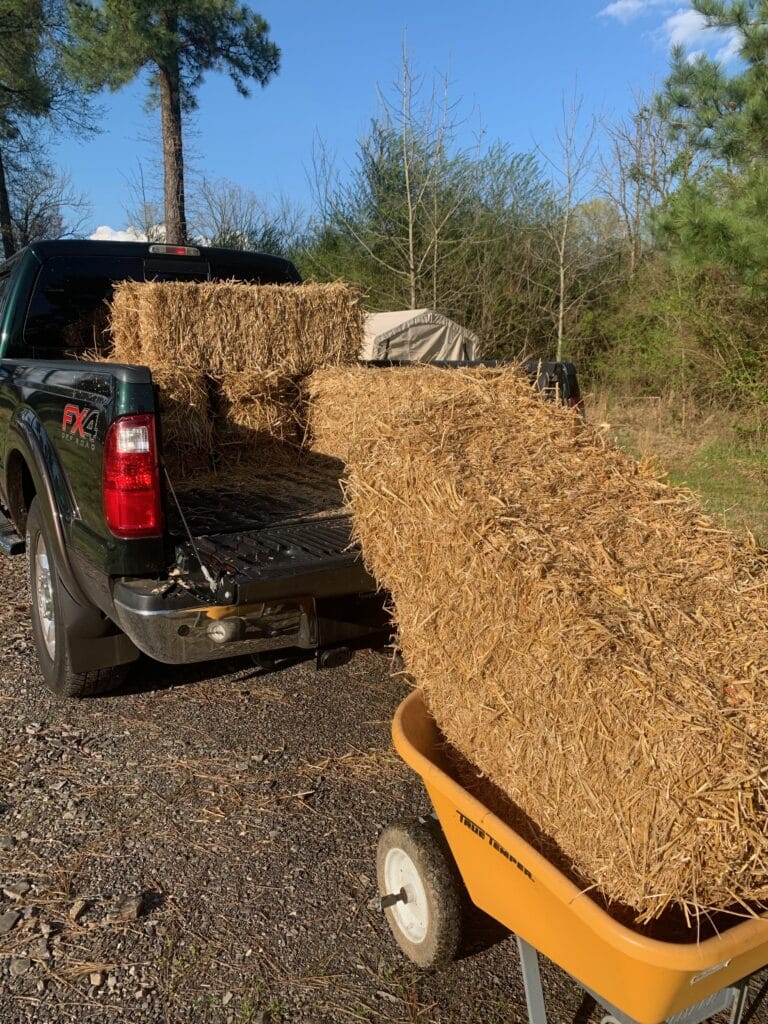
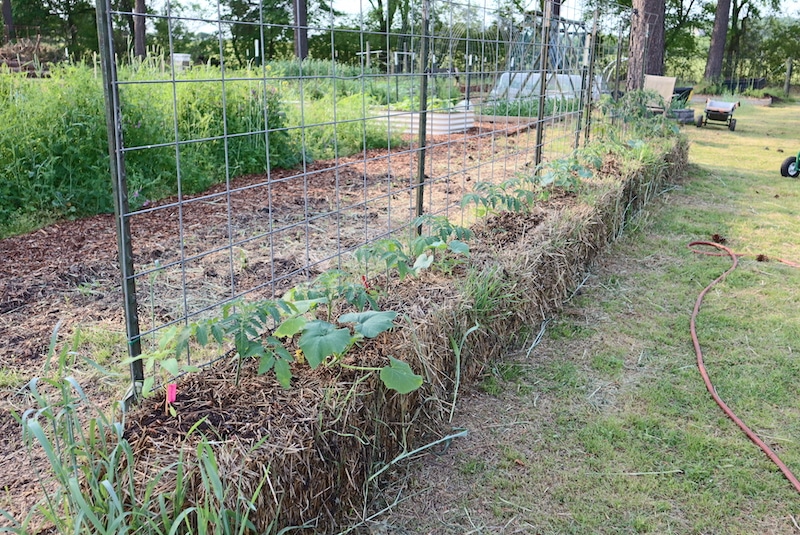
Tomato Cage Trellis Option
If you don’t have a cattle panel trellis available, another option is to create a row of tomatoes behind the straw bales and use large tomato cages to serve as a trellis for them. Then, as the vertical crops in the straw bale grow, they will naturally climb up and share those cages.
Below is a photo of the early stages of this method.
And below is what the same method looks like when the crops are fully grown:
Now that you have a general idea how to situate straw bales and a trellis in your garden, let’s dive a bit deeper into what you can grow vertically and how to condition the bales.
Crops to grow in straw bales
Most crops that you could grow in raised beds you can also grow in straw bales. But if you want to grow vertically, here are the crops that are best suited to use the trellis you set in place.
- Tomatoes (Indeterminate like San Marzano or Amish Paste)
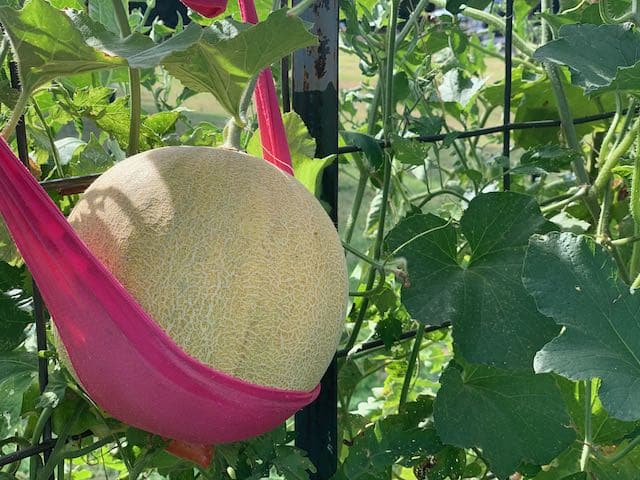
- Cantaloupe
- Honeydew Melon
- Cucumbers
- Black Eyed Peas
- Pole Beans
- Peas
- Any other vining crop
I also like to plant squash and zucchini in my straw bales. They love the nutrition in the straw bales and they pair well between two tomato plants, spilling over the bales while the tomatoes grow up.

Keep in mind also that cantaloupe or other melons that vine may need some extra support when they bear their fruit. I tie old panty hose around the melon to support the growth. It expands as the fruit grows and keeps it from falling off when ripe.
Things to Consider When Conditioning the Bales
One of the biggest mistakes first time gardeners make when starting out with straw bales is not knowing the bales need conditioning before you can plant in them. Straw bales must first go through this short process to, essentially, become their own compost, which is what the plants thrive in.
Since I usually grow warm season crops in my straw bales, I know that I had to first find my average last frost date and count back to begin the process for conditioning.
One note about average last frost dates and planting your warm season crops: it is just an average and your weather could change by a couple of weeks. If you have to wait a couple of weeks after you planned to plant your crops in the bales, that is totally fine and may work to your advantage. The longer the bale sits after it is conditioned, more of the composting action has taken place and will be more nutrient rich for your crops, especially if you condition them in an organic method.
Bottom line is: I usually start my conditioning process on the early side, knowing that if I have to delay planting of my crops due to weather, it’s totally fine.
Conditioning Process for Straw Bales
As I mentioned earlier, you can opt to use synthetic or organic fertilizer to condition your bales. I use organic fertilizers or naturally derived fertilizers on the crops in my garden. While there are several reasons for this, the main one is that I don’t want the excess runoff of synthetic fertilizers in my garden. Instead, I opt for organic sources. I’ve used blood meal, Milorganite, and Espoma pelleted chicken manure in the past. For the All-Purpose fertilizer, I use Garden Tone.
Organic Straw Bale Gardening Conditioning Schedule
- 3 cups of nitrogen source to each bale once every other day for a total of 6 days
- water thoroughly each day, whether or not fertilizer is added that day
- 1.5 cups per day for 3 consecutive days, and water
- 3 cups of Garden Tone on the last day
- Water for at least 3 consecutive days or until planting.
After the conditioning process is over, wait at least a few days or a week before planting any crops in the bales. This is especially helpful if you go the organic route to allow the beds to compost further since it can take a little while longer. After you plant though, the process is pretty hands off with little maintenance and weeding other than keeping things well watered and tied up when needed. I like to use my Hori Hori knife to cut into the bales to create my planting hole and add compost into the hole to help get the plant going initially.
One final thing
After planting, you will want to install a drip irrigation line or soaker hose if possible. It is important that you keep them well watered. The only other maintenance that could be needed is training a crop to the trellis or tying stems to it as well (like with tomatoes).
Need a visual of all we’ve talked about today? The video below shows the process from planting to growing!
I hope this has helped you feel confident to get started on your straw bale gardening journey and I hope you love this growing method as much as I do. If you want further details on how to grow in straw bales, there are two books I would recommend to any beginner when they are wanting to get started with this method: Straw Bale Gardens Complete by Joel Karsten and Growing Vegetables in Straw Bales by Craig LeHoullier.
You can also listen to my interview with Joel Karsten on the Beginner’s Garden Podcast here.
Build Your Own Trellis!

Enter your e-mail address to get a free download with step-by-step instructions on building your own garden trellis for pole beans, peas, and more!
Plus, you'll receive my "Weekly Garden E-mail" on Fridays and periodic updates on garden resources relevant to you!
You are also agreeing to our privacy policy.
What do you do with bales you are going to use another year? Do you cover them to protect from weather or stack them in a rectangle to protect from weeds growing?
I find that I can’t use them more than one season because they break down so much in my long season. So, I use them to either mulch another bed or use them as a base for a new raised bed or new garden area. But I have heard of others using them more seasons than one. I’m not sure what they do.