How to Grow Potatoes: Beginners Starter Guide
Want to know more about growing potatoes? This beginner’s starter guide can help get you started growing potatoes so you can have a successful harvest in your garden this year.

When do potatoes grow best?
Potatoes grow best in two seasons — the cool and the warm seasons. Potato leaves will not tolerate a freeze; they will die back unless you cover them. If a late freeze hits your potato leaves, the whole plant doesn’t usually die because the tuber under the soil will push out new leaves. Your potatoes may be set back by about a week or so.
Why, then, would you plant so early that there might be a risk of a late freeze? The reason is that potatoes also don’t like hot weather. Tuber production often stops at temperatures over 90-95 degrees F. For gardeners with hot summers (especially if the heat comes early, planting early is a necessity).
Usually, then, potatoes are planted in the cool season (about 2-4 weeks before your average last frost date). Because they are planted as tubers underneath the soil surface, they don’t start to push leafy growth above the soil for a couple of weeks.
Instead of relying on the calendar for knowing when to plant your potatoes, a better option is to check the soil temperature. Seed potatoes should not be planted when the soil temperature at the depth of planting is below 50F. Often, the potatoes rot (especially in wet soil), but if they don’t, the vines don’t emerge from the soil for several weeks, even up to a month.
That’s why checking soil temperature is a better option. When the soil temperature is higher, the potatoes will emerge quicker and grow faster.
Where should you grow potatoes?
Potatoes like to be grown in loose, well-draining soil that is slightly acidic (they like a soil with a pH of between 5 and 6). Also, adding plenty of organic matter like compost to the soil helps the plant to grow more tubers.
Potato plants prefer to grow in a location that receives at least 6-8 hours of sun per day, but the more you can give them, the better.
Watering can be tricky with potatoes if you get a lot of rainfall in the spring. Too much water in the soil can rot the seed potatoes and they won’t produce tubers. Keep an eye on the amount of rainfall you are receiving and water only when rainfall is not adequate.
*links below may contain affiliate links, which means if you click through and make a purchase, we will earn a commission at no extra cost to you.
Planting Tips
- Plant in the spring (2-6 weeks before average last frost date, depending on soil temperature). Soil temperature, checked in the morning at 4″ depth, should be above 50 degrees. Check out my favorite soil thermometer plus other gardening favorites in my Amazon store front.
- Always buy certified seed potatoes. If you buy potatoes from the grocery store (even organic) they may have been sprayed with a sprout inhibitor and they may not grow well and produce for you. But more important, certified seed potatoes do not carry the risk of diseases that can infect your soil for years to come. If you plant grocery store potatoes, you are risking bringing potato diseases to your garden. If you’re looking for a great source for certified organic seed potatoes, check out Wood Prairie Family Farm and use my code JILL5 for 5% off your order.
- You can plant the seed potato whole or cut them into pieces (just make sure you have at least two eyes on each piece). The ideal size of a seed potato or seed potato piece is the size of a chicken’s egg.
- If you do choose to cut the potatoes into pieces, make sure you let the pieces heal over for a day or two after you make the cuts. Keep them in a dark location at around 65 degrees while they heal.
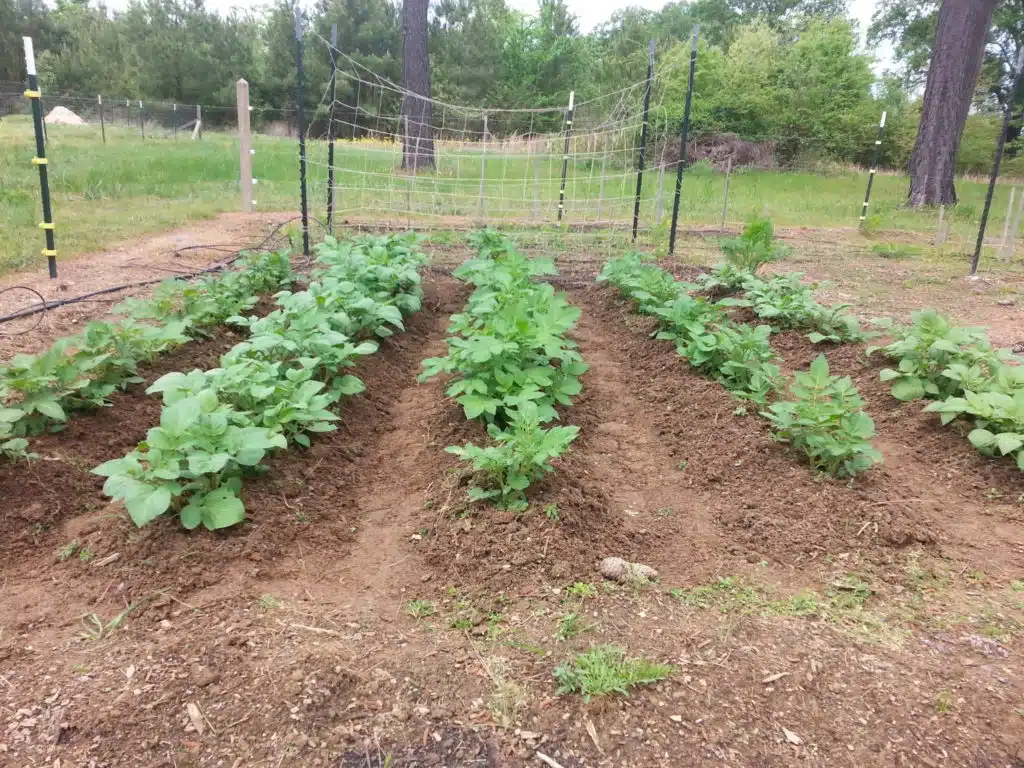
- The seed potatoes should be planted about 4 inches deep and give about 10-12 inches between each one.
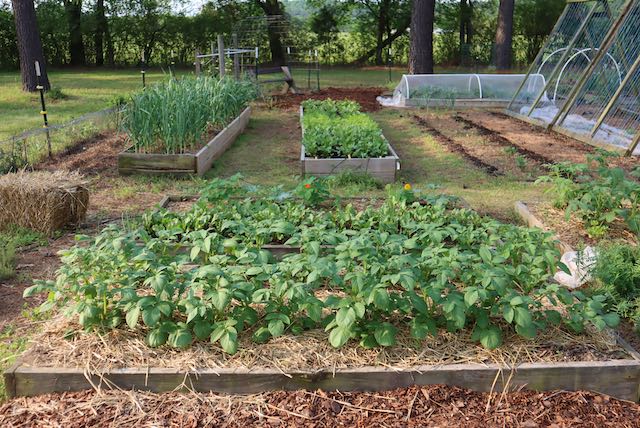
- They can be planted in raised beds, containers or in the ground.
Want to see how I’ve grown potatoes in raised beds, grow bags, buckets, and in the ground? Take a look at my “Potato” playlist on my YouTube channel, here.
How to Grow For Success
One key for success in growing lots of potatoes is “hilling”. What does that mean? When your plant is around 6-12 inches tall, add extra dirt or mulch around the base of the plant.
Potato tubers develop at soil level, and hilling covers those developing potatoes up, ensuring they do not get exposed to sunlight. Sunlight turns potatoes green, which in high amounts, can be toxic.
Hilling also helps insulate the growing tubers, which is helpful in the summer’s heat.
Growth Cycle (One of the most important steps to understand!)
If you understand the cycle of how a potato plant grows, you can know what to look for through the course of the season. The growth cycle of a potato can be classified into 5 different stages. I learned this from this website.
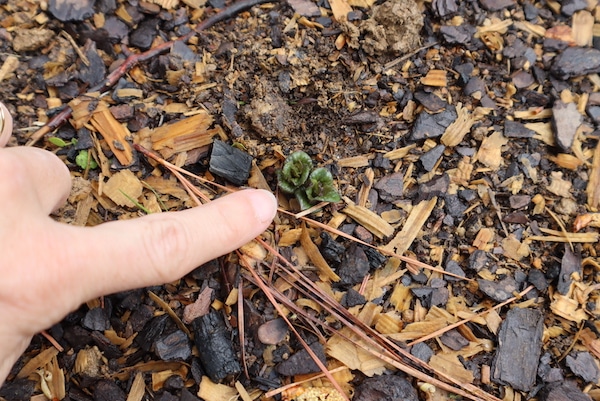
- Sprout Development: The eye of the potato develops sprouts which will emerge from the soil.
- Vegetative Growth: The leaves, stems and root system forms, photosynthesis begins and the plants prepare to store nutrients in tubers.
- Tuber Initiation: Tubers begin to form at the end of the stolons or underground stems, this is before the plant flowers
- Tuber bulking: Tubers enlarge and sugars/starches accumulate, the plant will begin to loose vigor at this stage. (This trips up beginners because they believe their plant is dying but this is supposed to happen)
- Maturation: Tubers reach full size, the tops of the plants dry out and die. During this stage, the skin of the tubers toughens, extending the storage life of the potato.
How to Harvest
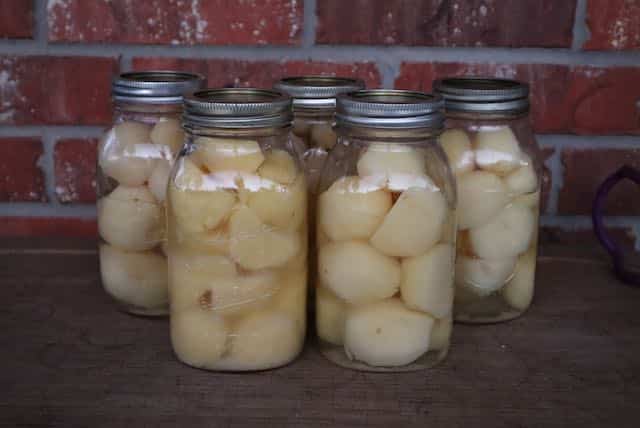
If you are wanting to harvest for storage, wait 2-3 weeks after the plant has died before harvesting. If you are just wanting to eat fresh potatoes, you can start harvesting young potatoes at flowering stage. While I have not done this myself, I have heard they are very tasty prepared this way. When harvesting, take care to not damage tubers. They will not store well if you pierce a tuber. If that does happen, simply use that potato first. If you want more storage tips, I have a post dedicated on how to store potatoes here.
Storage Tip: Store in a dark, humid place at around 60-65 degrees for 2 weeks after harvest for thicker skin and move to a final storage place that has high humidity, good aeration, and colder temperatures (38 – 40° F)
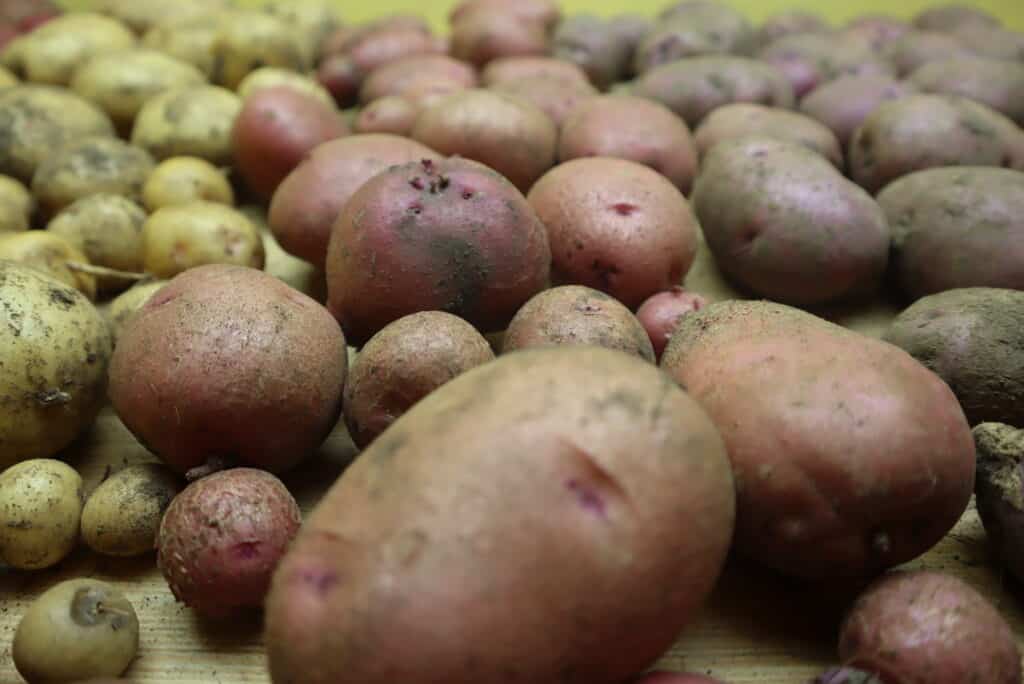
Varieties for Beginners
The two types of potatoes I would suggest to beginners are Yukon Gold and Dark Red Norland. Remember you can get 5% off your order here from Wood Prairie Family Farm with my code ‘JILL5’.
If you want to know more about climate considerations and what potatoes would grow best in your climate, check out episode 276 (How to Select Potato Varieties for Your Climate and Kitchen) of The Beginner’s Garden Podcast. Find it wherever you listen to podcasts.
Do you get overwhelmed with garden planning?

Subscribe here for my best tips to plan your garden in just 7 days -- all for FREE.
Plus, I'll send you my "In the Garden E-mail" on Fridays, periodic updates on garden resources relevant to you, and you'll receive access to my entire bank of free garden downloads!
You are also agreeing to our privacy policy.