Preserving Supplies: from Basic to Scaling Up
Are you harvesting anything from your garden yet? I’m eating my last few spring salads before the lettuce starts bolting and soon I’ll have strawberries coming on. And I have more asparagus than I know what to do with!
This is the time of year that I start focusing on preserving my future harvests. I think all gardeners learned a lesson last year that delaying isn’t an option when it comes to garden preservation. All across the nation in 2020, gardeners found themselves with a shortage of canning and preserving supplies. This year isn’t looking much more promising, either.

(*links below contain affiliate links, which means if you click through and make a purchase, we will earn a commission at no extra cost to you.)
If you’re new to preserving your garden harvest, what do you actually need, and what can you do without? What supplies are nice to have but not necessities?
We break down all of this down here. You can listen on the podcast below, or continue reading.
What’s your why in gardening?
Before you can start the preservation process, it’s important to consider why you garden. For myself, I wanted to save money on groceries after I left my job to be a stay-at-home mom. Naturally, I didn’t want to spend a lot of money on harvesting and preserving supplies when I was just starting out.
I had to make some strategic decisions on where I wanted to spend my money in my first few years of gardening and preserving. But as my garden grew and as I added the budget, I was able to scale up. From there, I discovered a few items that I wish I would’ve purchased far sooner than I did.
First year gardening purchases
If it’s your first year to garden and preserve, you may be overwhelmed with the amount of supplies you need.
My first piece of advice? Tell your friends and family that you’re gardening and what you need. Gardening supplies make great gifts for them to purchase and a lot of them are inexpensive. If you’re like me, I love receiving gifts that are useful to me, and gardening supplies are at the top of that list!
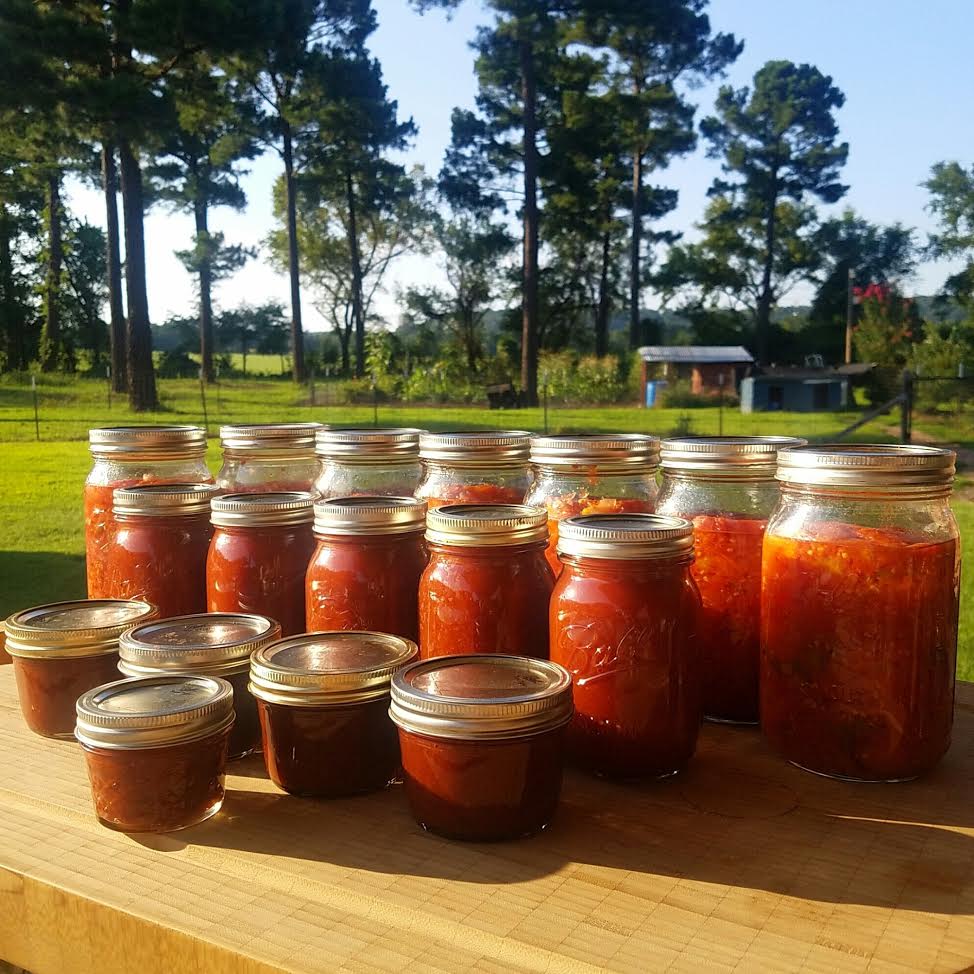
What were those supplies in my first year? First, I knew canning was going to be a priority. I looked at what we typically ate in our household and what I could replace in the pantry from my garden. For me, that happened to be green beans and tomato products.
Pressure Canner
Knowing that I wanted to preserve green beans and stewed tomatoes, I knew I needed a pressure canner. What I wasn’t ready for, though, was the price tag that came with those canners. I was in my first season and I kept seeing expensive canners from gardeners who were canning so much more than I ever thought I would, and it was hard to justify the cost for a first-time food preserver like me.
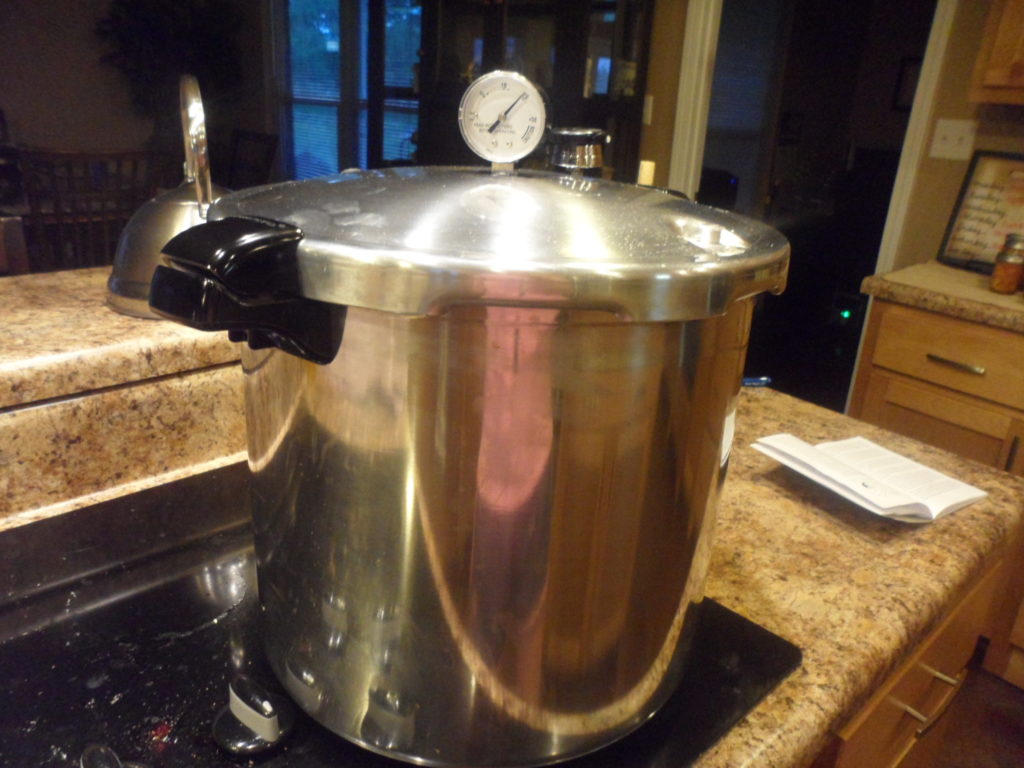
I purchased what I could afford at the time and got myself a Presto Pressure Canner. And I will tell you, it’s been eight seasons now and that pressure canner is still going strong! I’ve had to spend $5 on it and replace a gasket, but we are heading into our ninth season and I still enjoy this canner. It also doubles as a water bath canner, so it’s a win-win and an investment that I never have regretted.
Water Bath Canner
If you ONLY plan on canning jams, jellies, tomato sauce, pickles, and other foods that do not require a pressure canner, you won’t need to purchase the pressure canner. A water bath canner like this one works great. It has ridges at the bottom meant for water bath canning. I have one of these gifted from a family member that I loved to use.
If you don’t want to spend money on a water bath canner, you can use a stockpot. It doesn’t hold as many jars, which may or may not be a big deal. Also, a stockpot doesn’t have the necessary ridged bottom. When I used a stockpot for water bath canning, I placed canning bands to sit my jars on so they wouldn’t crack. Not ideal, but it worked well enough before I was gifted my water bath canner.
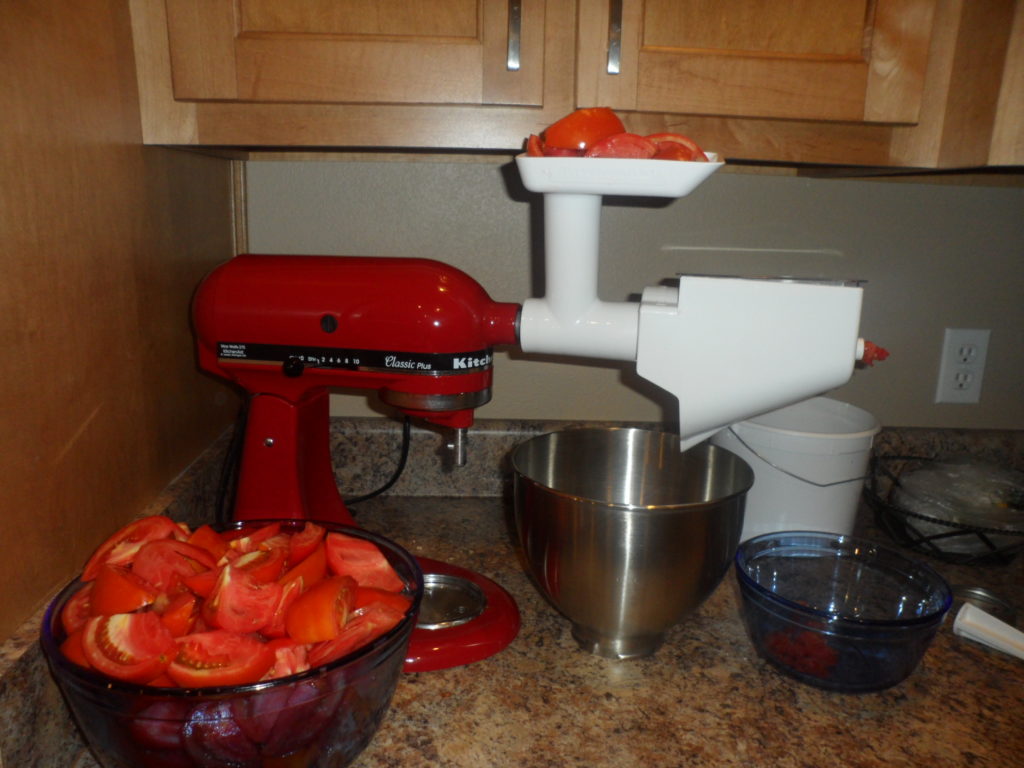
Fruit and Vegetable Strainer Attachment
Another purchase I made my first year was a bit of a pricey one. I bought a KitchenAid Fruit and Vegetable Strainer attachment that went on the KitchenAid mixer I already had. I knew that my priority was being there for my young children and I didn’t want to spend my time blanching and peeling tomatoes all summer. To me, I traded dollars for time and convenience, and I’ve never looked back.
Yes, it was an investment when I was counting my pennies that first year, but let me tell you, I’ve never looked back. That thing is a workhorse, still, eight seasons and dozens of jars of tomato products later! (Here’s how the KitchenAid Strainer attachment works for tomato sauce.)
(Note: KitchenAid no longer sells this attachment as one unit. Now, you must purchase the Food Grinder AND the Fruit and Vegetable Strainer Attachment both. Still, having used this for a decade and counting, it’s well worth the investment, in my opinion.)
Canning Kit
I highly recommend purchasing a canning kit. These usually come with all of the supplies you need: the jar lifter, the funnel, the wand that removes air bubbles, and a magnetized wand that helps you place your metal lids. It’s a good one-stop purchase to get you started.
Canning Jars
As we spoke about earlier, there is a real shortage when it comes to some canning supplies. Again, tell people you are gardening. I’ve received so many jars from church friends, grandmas, etc. who were done using theirs and passed them on. Know that if you have to purchase them, it is an investment, but one that you will reuse year after year.
Bands and Lids
If you purchase a supply of canning jars, most of those come with bands and lids. Bands are the rings that goes around the top and tightens down on the jar and are reusable. The lid is the flat piece that goes on top of your jars and seals your food. Metal lids are not reusable.
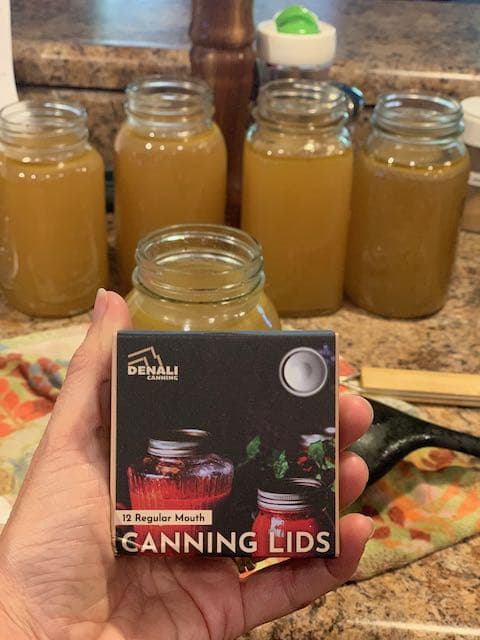
After experiencing the canning lid shortage of 2020, only to finally get an order from Amazon that didn’t seal well, I discovered Denali canning lids. So far, I have had no seal failures and I highly recommend them!
Reusable Canning Lids
Another option is reusable lids. My mom purchased me Tattler Reusable Canning lids a few years back. I used them back then off and on, but the sealing rate wasn’t as dependable as metal lids. But now, I’m super grateful to have them. I’d rather have a 90% seal rate than no canning at all.
Freezing Supplies
While my priority was and still is canning, I’ve also embraced other methods of food preservation, like freezing.
Here’s a preservation secret: freezing is less work! Maybe you freeze for that very reason, or maybe you just prefer the freezer method to the canning method. Whatever the reason, freezing your harvest definitely has its benefits, but in order for the food to last as long as possible, in as high of a quality as possible, the right supplies will make a difference.
Vacuum Sealer
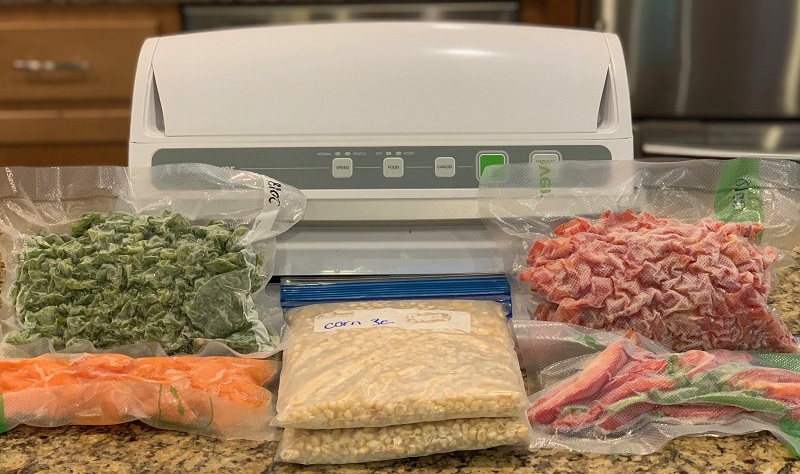
One of the biggest concerns with freezing is that the products don’t last as long as with other methods before the quality declines, mainly due to oxygen in the frozen bags or containers. Because of this, I purchased a food sealer. It was another investment, but I’ll tell you, I can tell the difference. Frozen products in vacuum-sealed freezer bags maintain their quality much longer.
Freezer Bags
But if purchasing a vacuum sealer isn’t an option for you, then make sure you purchase HIGH-QUALITY freezer bags. There is a major difference between name brands and generic. Don’t make the same mistake I did by trying to cut a corner here. When I have to use freezer bags, it’s Zip-loc or bust for me.
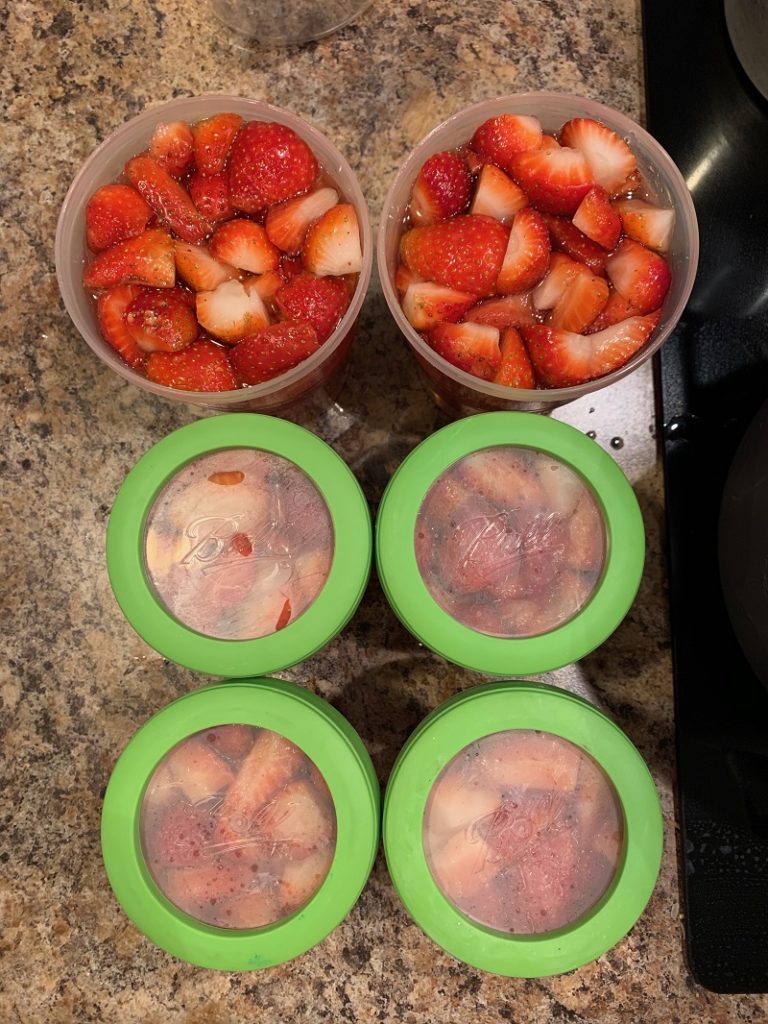
Plastic Containers
Another option here is plastic containers with lids. This is a great option for berries and pickles — basically any product that is submerged in liquid. I use the Zip-loc or Ball containers. I wouldn’t use this for veggies or anything else not in brine or syrup, since they don’t keep oxygen out.
Also keep in mind that the containers will take up more space, so if you only have your one freezer that comes on the top of your refrigerator, freezing isn’t probably going to be a great option for you, as far as space. We have an additional deep freeze in our home allowing us this option, but this was another item on short supply during the pandemic.
Miscellaneous Preserving Must Haves
I’m pretty sure most of the supplies we’ve talked about already haven’t come as a surprise to you, but sometimes it’s the little things that we forget. It’s the little things that make an already big task a little more manageable. And it’s the little things we want to have on-hand before a big preserving session.
Stock Pots
Although you can use stock pots for water bath canning, as we mentioned above, you will also need one for other preserving uses. Stockpots work for blanching, cooking jams and jellies, simmering tomato sauces, and many other uses. I got by with just one for a really long time, though having two has been a gamechanger.
Cheese Cloth and Kitchen String
When you’re canning pickles and relish, you need a cheesecloth to put your spices in and kitchen string to tie up your cheesecloth.

Canning Salt and Sugar, Vinegar and Citric Acid
If you don’t know, they make a type of salt just for canning your vegetables. Table salt isn’t the same, so make sure you purchase canning salt.
For your fruits, jams, jellies, and many relishes, you’ll need lots of sugar on hand.
Jams and jellies also usually require pectin. Please keep in mind that liquid and powder pectin are not interchangeable so check the recipe.
A lot of pickling recipes require vinegar for preservation and you’ll want to check your recipe to see if this is a white or apple cider vinegar. And, again, depending on what you’re canning and the recipe, some canning requires acid for preservation. Usually, the recipe will call for citric acid or lemon juice.
Thermometer
If you are making candies, jams, jellies, and lots of other types of recipes, you need a long-probed candy thermometer.
Plastic Storage Caps for Mason Jars
One thing I didn’t realize how much I would use but do is plastic storage caps for my mason jars. These are great for when you pop a metal lid but won’t use all of your contents. It’s also ideal for refrigerator or freezer pickles. I use mine all the time!
Scaling Up
A lot of the following items I have purchased in the last couple of seasons. Like most hobbies and activities, we add to as we grow and so that’s where some of these have come in. These are items you can certainly do without, especially if you’re new to gardening, preserving, or both.
Blanching Pot and Large Bowls/Colanders
I used to use a colander with a stockpot for blanching and this method served me well for several seasons. Last year, I purchased my first actual blanching pot and I’m honestly wondering what took me so long! I found this at my local garden store and it’s been a life-changer. I bought mine from my local Ace Hardware store.
In addition, my husband’s grandmother gifted me a set of large bowls and colanders that she had retired in her own kitchen. I had been using small bowls/colanders for many seasons just fine but having those extra-large ones when it comes to overflowing tomato season is so nice!
Food Processor
I’ve had a food processor on hand since day one because it’s just a gadget I own in my kitchen (although my husband bought me this one for Mother’s Day and I love it). Although you may not think of a food processor as a preserving tool, when it comes to pestos and salsas, a food processor is certainly a helpful tool to own. It is also nice to slice carrots with the slicing function. Yes, you can use a knife and board, but since we are talking about scaling up, this is a good route to go.
Dehydrating Herbs, Fruits, and Veggies
Dehydrator
In my first year, I was focused on preserving in simple ways, and to be honest, dehydrating never crossed my mind. As I grew and got into the dehydration of my herbs, fruits, and vegetables, I bought an economical dehydrator. While it worked fine, I was using it far more than I planned to and the motor burned out after many seasons.
I upgraded to the Excalibur last year. This, again, is a major investment but anyone who has one will tell you how amazing it is. They aren’t wrong. But, you won’t want to purchase this unless you’re truly into dehydrating and doing it for the long haul.
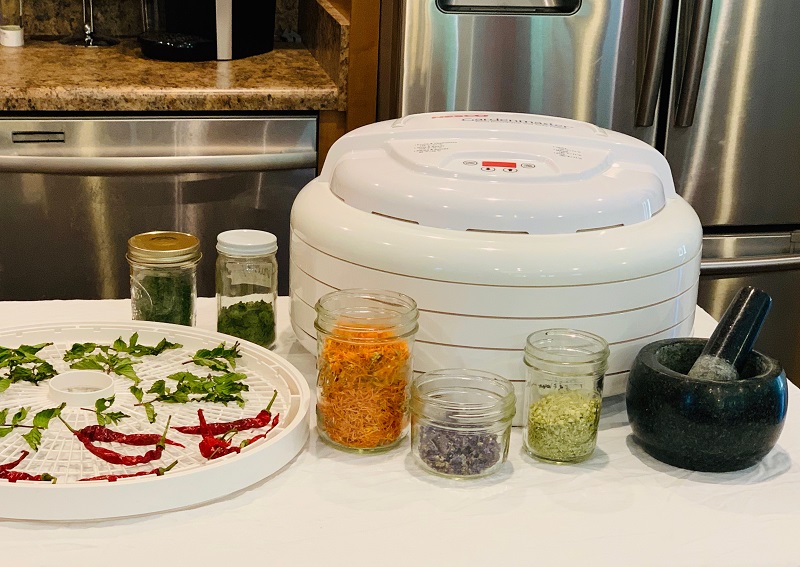
Mortar and Pestle
One of my favorite tools came to me as a gift, but I truly can’t love it enough. That is my mortar and pestle. It is such a delight to me to grind up my dehydrated herbs in this and it was truly something I wouldn’t have purchased for myself, but love it so very much.
Jar Sealer Attachment
This was a purchase to attach to my Food Saver to seal my dehydrated products. If you have a ton of fruits and veggies you dehydrate, it’s a nice product to have but absolutely not a necessity. I didn’t get this until last year, so it definitely falls in the Scale-Up Category.
Money Saving Ideas
As I mentioned earlier, tell everyone you know that you’re gardening! Church, friends, family, neighbors. You will be surprised at how many people have garden stuff laying around taking up space. This is also a great time to hit up the garage sales!
Don’t feel like you have to can everything. Some recipes, like pickles, last longer in the refrigerator than you think — if I’m going to eat pickles within a month or two, I’ll just refrigerate and save the hassle of water bath canning.
Also, consider canning in quarts if you have a larger family to save on lids.
No matter what you do, prepare for your harvest NOW. Do not wait until you need these items, as we know from last year that so much of what the gardener needs was hard to come by in the middle of the harvest season.
Do you get overwhelmed with garden planning?

Subscribe here for my best tips to plan your garden in just 7 days -- all for FREE.
Plus, I'll send you my "In the Garden E-mail" on Fridays, periodic updates on garden resources relevant to you, and you'll receive access to my entire bank of free garden downloads!
You are also agreeing to our privacy policy.
Loved this podcast! I go to garage sales every weekend so I’m always looking for something that will help me with food preservation. Last week I bought a new Pampered Chef apple peeler/slicer for $5. I have a canner (my husband got it for me for Christmas, best gift ever) and am thinking about getting the jar sealer thingy because I’d use that. Another blogger posted that she has had great success reusing the Ball canning lids on the jars she uses the sealer with (she also adds the absorbing packet). That’s a great option instead of just throwing them away!
That is a good idea for dehydrated foods! Thanks for the tip!
Hi Jill! I am so happy to find your podcast and web page…I’ve been gardening a few years but I am always learning something new! I would like to start more food preservation and I was just wondering can a juicer be used for the tomatoes to make sauces rather than the mixer attachment? Of course I thought of this AFTER purchasing an attachment for my Kitchenaid. LOL Thank you for all the great information you share!
Hi Carrie, I hadn’t heard of the juicer until you mentioned it, and in a brief glance at it online, I think it *might* work. I would recommend reading its manual and seeing what it says about tomatoes. With my attachment, the end product has the consistency of a juicy sauce — with much of the flesh still in tact, though in a more liquid form. In other words, I’m not sure exactly how much “pulp” will be caught by the juicer, but I worry that you might lose some of that along with the skin and seeds. You may just have to try it with a few to see what the product ends up being.
Freezing has been my go-to preserving method for the past year, partly because of the shortage of lids, and partly because chronic pain makes freezing much easier than standing in the kitchen over the canner. But I will have to look into those reusable lids – I’d never heard of them!