5 Seed Starting Mistakes Beginning Gardeners Make
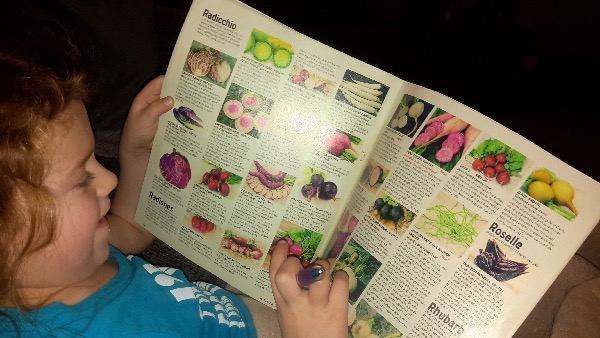
You browse the vibrant seed catalog, perhaps even with a marker in hand. So many choices! So many possibilities! How do you pick? How do you make sure you don’t waste money buying seeds you won’t have room to plant or worse, that won’t grow in your area?
But maybe you’re not even asking those questions yet. You might be wondering if you should even try seed starting indoors in the first place.
Even before seed catalogs began appearing in my mailbox, I had more simple questions than which varieties to buy. Which do I need to start indoors? Which should be planted directly in the garden? And if I try planting from seed indoors, how do I even start?
Choosing seeds with beautiful pictures in the catalog or on the packet is one thing — a decision in itself, don’t get me wrong — but growing them is quite another!
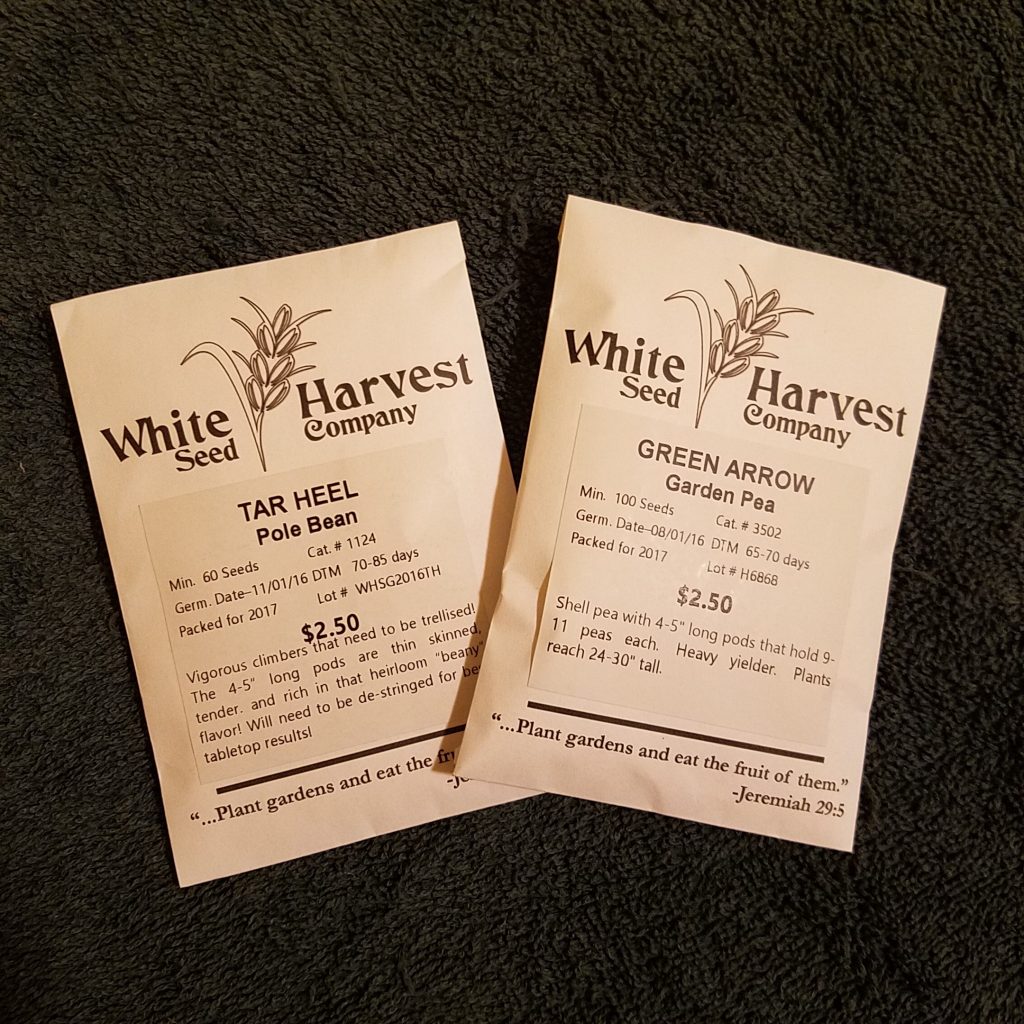
In this episode of the Beginner’s Garden Podcast, I chat with Mike from the White Harvest Seed Company. He answers many of the questions beginning gardeners — and seasoned gardeners alike — ask him. We talk all about seeds, so if you have time, click below to listen to the full episode, or read the post below to get you started on the basics.
*disclosure: links below are affiliate links, which means if you click through and make a purchase, I will receive a commission. View full disclosure and privacy policy at the bottom of this page.

5 Common Seed Starting Mistakes
I confess, I’ve made every single one of these seed starting mistakes. Chances are, most gardeners have, too. But if you go to the effort of starting seeds indoors, you want to do it right. Avoiding these mistakes will save you time, effort, and frustration. Plus, few garden tasks are more rewarding than seeing your seedlings through from seed to harvest.
1. Lack of Research
It’s easy to get caught up in the beautiful, full-color possibilities in the seed catalogs, but how do you know which varieties will grow well in your area? The quickest way to research is to ask your local friends or vendors at your farmer’s market which varieties they grow well.
Another tactic is to put on your detective hat while reading names and descriptions in seed catalogs and look for hints.
For example, if you want to grow watermelons, “Georgia Rattlesnake” would be a good choice for those of us in the South, while “Sweet Siberian” would be a better choice for northern gardeners with shorter growing seasons. Also look for catch-words like, “perfect cool-weather crop” or “tolerates heat” or “slow to bolt.”
2. Too Much or Too Little Water
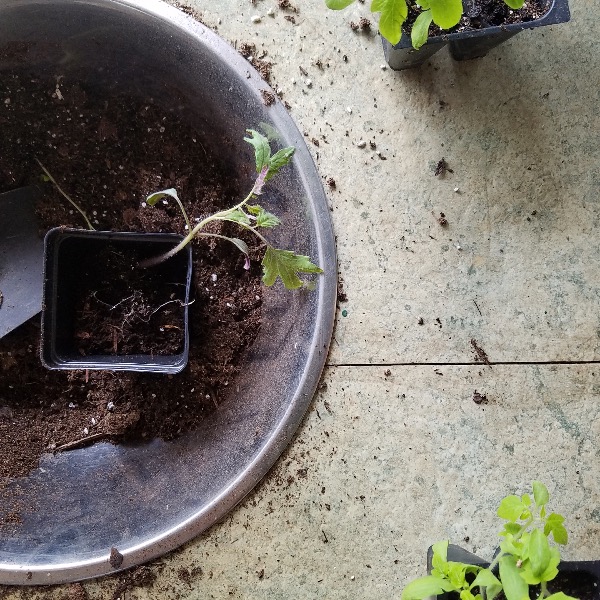
Just like newborn babies, little seedlings can be a bit fussy when it comes to their growing environment. The soil needs to stay moist but not too saturated. A harsh stream of water to a tiny seedling can dislodge the tender roots and harm the stem.
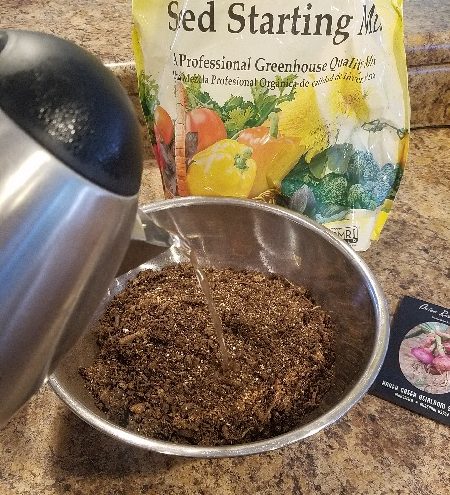 Before planting, moisten the seed starting mix
A seedling can quickly die if the seed starting mix dries out, so frequently check the soil with your finger and water appropriately to ensure a moist medium throughout its growth.
3. Lack of Close Light
The biggest mistake I see gardeners make is relying solely on sunlight coming through a window. In my experience (and in seeing many photos of leggy, strained seedlings), filtered sunlight rarely gives seedlings the light they need.
 Young plants need close light, two to three inches above their tip. This is best done with grow lights

4. Soil Temperature
Again, like newborn babies, seedlings need warmth, and this is a step many new gardeners miss. While cool weather crops can sprout and grow in a room-temperature home, tomatoes and peppers require the soil to be warmer. If your room temperature is in the mid-70s, tomato seeds should sprout and grow fine. Peppers, however, need a higher temperature, 80 degrees or above.
To achieve this temperature in an indoor setup, you’ll need a heat source. I recommend a seedling heat mat


The concept of soil temperature was one I completely missed my first several seasons, and I paid for it in slow germination, loss of seeds, and loss of time — both indoors and in planting seeds directly in the garden.
I was always so busy planting based on dates that I didn’t take into consideration this all-important factor.
That’s why I created a free download for you called the Seed Starting Reference Guide. It tells you which seeds to plant indoors ahead of time and which ones to wait to plant directly in your garden. It also gives you the estimated time to plant and more important, the optimum soil temperature for the highest germination. Grab it here:
5. Planting Too Early Outside
When the weather starts to warm up in the early spring, we can’t wait to set our carefully-tended toddler plants into the garden. But if we get into a rush, they will not thrive. Transplant shock could set their growth back by several weeks at best. Wait until the proper time to plant your plants in the garden. (More info on the best time to plant here.)
But make sure, even when the weather is warm enough to transplant your seedlings in the garden, that you’ve slowly acclimated them to the outdoors — a process called “hardening off.”
One to two weeks before planting outside, begin setting the transplants on a sheltered patio for increasing amounts of time each day, starting with one hour. I prefer to keep mine in the shade for a few days and I slowly let them get small amounts of sunlight a couple of days later.
–
Indoor seed starting is not nearly as hard as you might think — and when you avoid these common mistakes, you’ll be well on your way to a rewarding harvest! For more tips and advice, make sure to go back and listen to my full interview with Mike above. It was one information-packed episode! I wish I had Mike and his wisdom my first or second season!
My hope is between my conversation with Mike and the Seed Starting Reference Guide, you’ll find yourself getting a head start on a successful season!
If you’re ready to start seeds, here are my top picks to get your seed starting setup ready now!
Do you get overwhelmed with garden planning?

Subscribe here for my best tips to plan your garden in just 7 days -- all for FREE.
Plus, I'll send you my "In the Garden E-mail" on Fridays, periodic updates on garden resources relevant to you, and you'll receive access to my entire bank of free garden downloads!
You are also agreeing to our privacy policy.
KOOKING TO GROW GOOD CAROTES FROM GOOD QUALITY SEED I HAVE A SMALL CLAY GARDEN WHERE CAN I GET SUCH SEEDES THANKING YOU JAMES
The carrot seeds I have purchased from Baker Creek Heirloom seeds have performed well for me. Danvers 126 is a good variety for clay soils.